
DIY How-To Guide
Disclaimer: Eden Fence Co. sells fence products. We do not offer fence installation services. We guarantee the quality of the products we sell, but we cannot guarantee the quality of any specific fence design or installation. We leave the fence building up to you.
If you need assistance installing your fence, please reach out to a friend, family member, or professional contractor. Every fence project is different, and every person has a different skill level. Please build at your own risk and take the proper safety precautions.
Installing Your Eden Fence Co. Panels | Step-by-Step DIY Guide
Follow along as we guide you through the complete installation of Eden Fence Co. panels — from setting posts to final fastening. This step-by-step video shows how our prebuilt Cedar and Douglas Fir panels make DIY fencing simple, sturdy, and professional-looking — no contractor needed.
How to Install an Eden Fence Co. Custom Fence Panel | Step-by-Step DIY Guide
Learn how to install an Eden Fence Co. custom fence panel with this detailed video guide.

Planning your fence layout
- Start by taking a few quick measurements to figure out the total length of your fence line. Once you have your numbers, feel free to share them with us — we’re happy to double-check and make sure you get exactly what you need.
- It helps to sketch your layout on graph paper so you can visualize where each panel and post will go. From there, calculate how many Standard Width (66") Fence Panels and 4x4 Fence Posts (3.5") you’ll need to complete your fence.
- If you want your fence to reach a precise total length, you may need custom-width panels to get the perfect fit. Contact us with your measurements and we’ll help you plan it out.
- Planning to add a gate? Be sure to leave a little extra space — about +1" wider than the gate panel — so your hinges and latch swing freely.
- Our Standard Gate Panels measure 36" wide with hardware pre-installed and are designed for 37" gate openings.

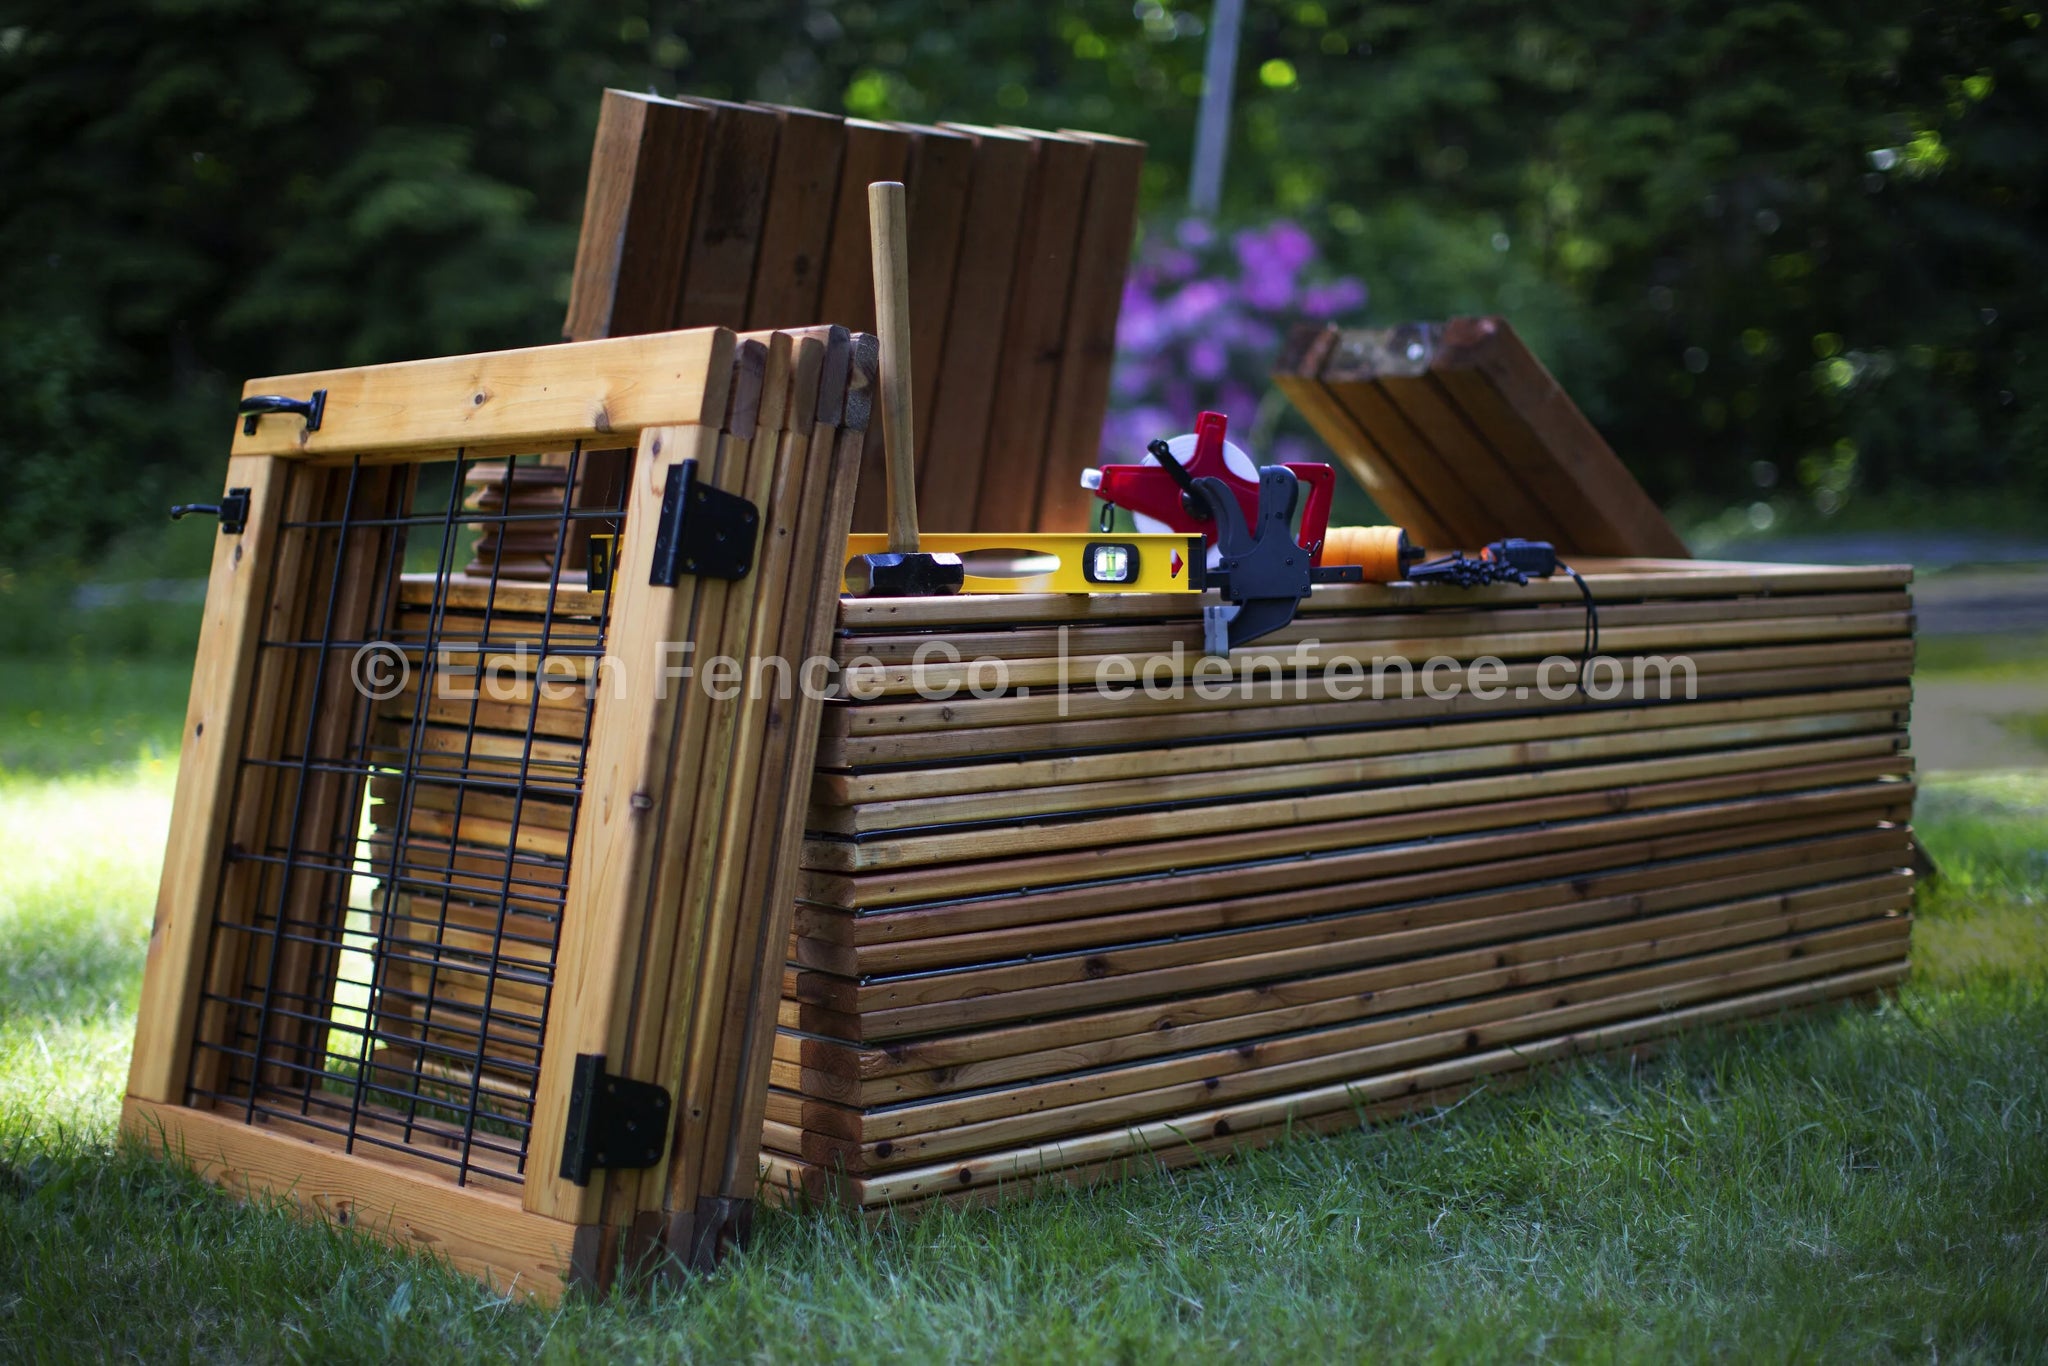
Suggested Tools
- String line
- Post hole shovel
- Gasoline auger
- Impact driver or drill
- 3" screws
- Hammer
- Level
- Woodworking clamps
- Spray paint
- Gravel
- Scrap wood
Lay out all your fence materials and tools before you begin. Double-check that you have everything you need for a smooth start.
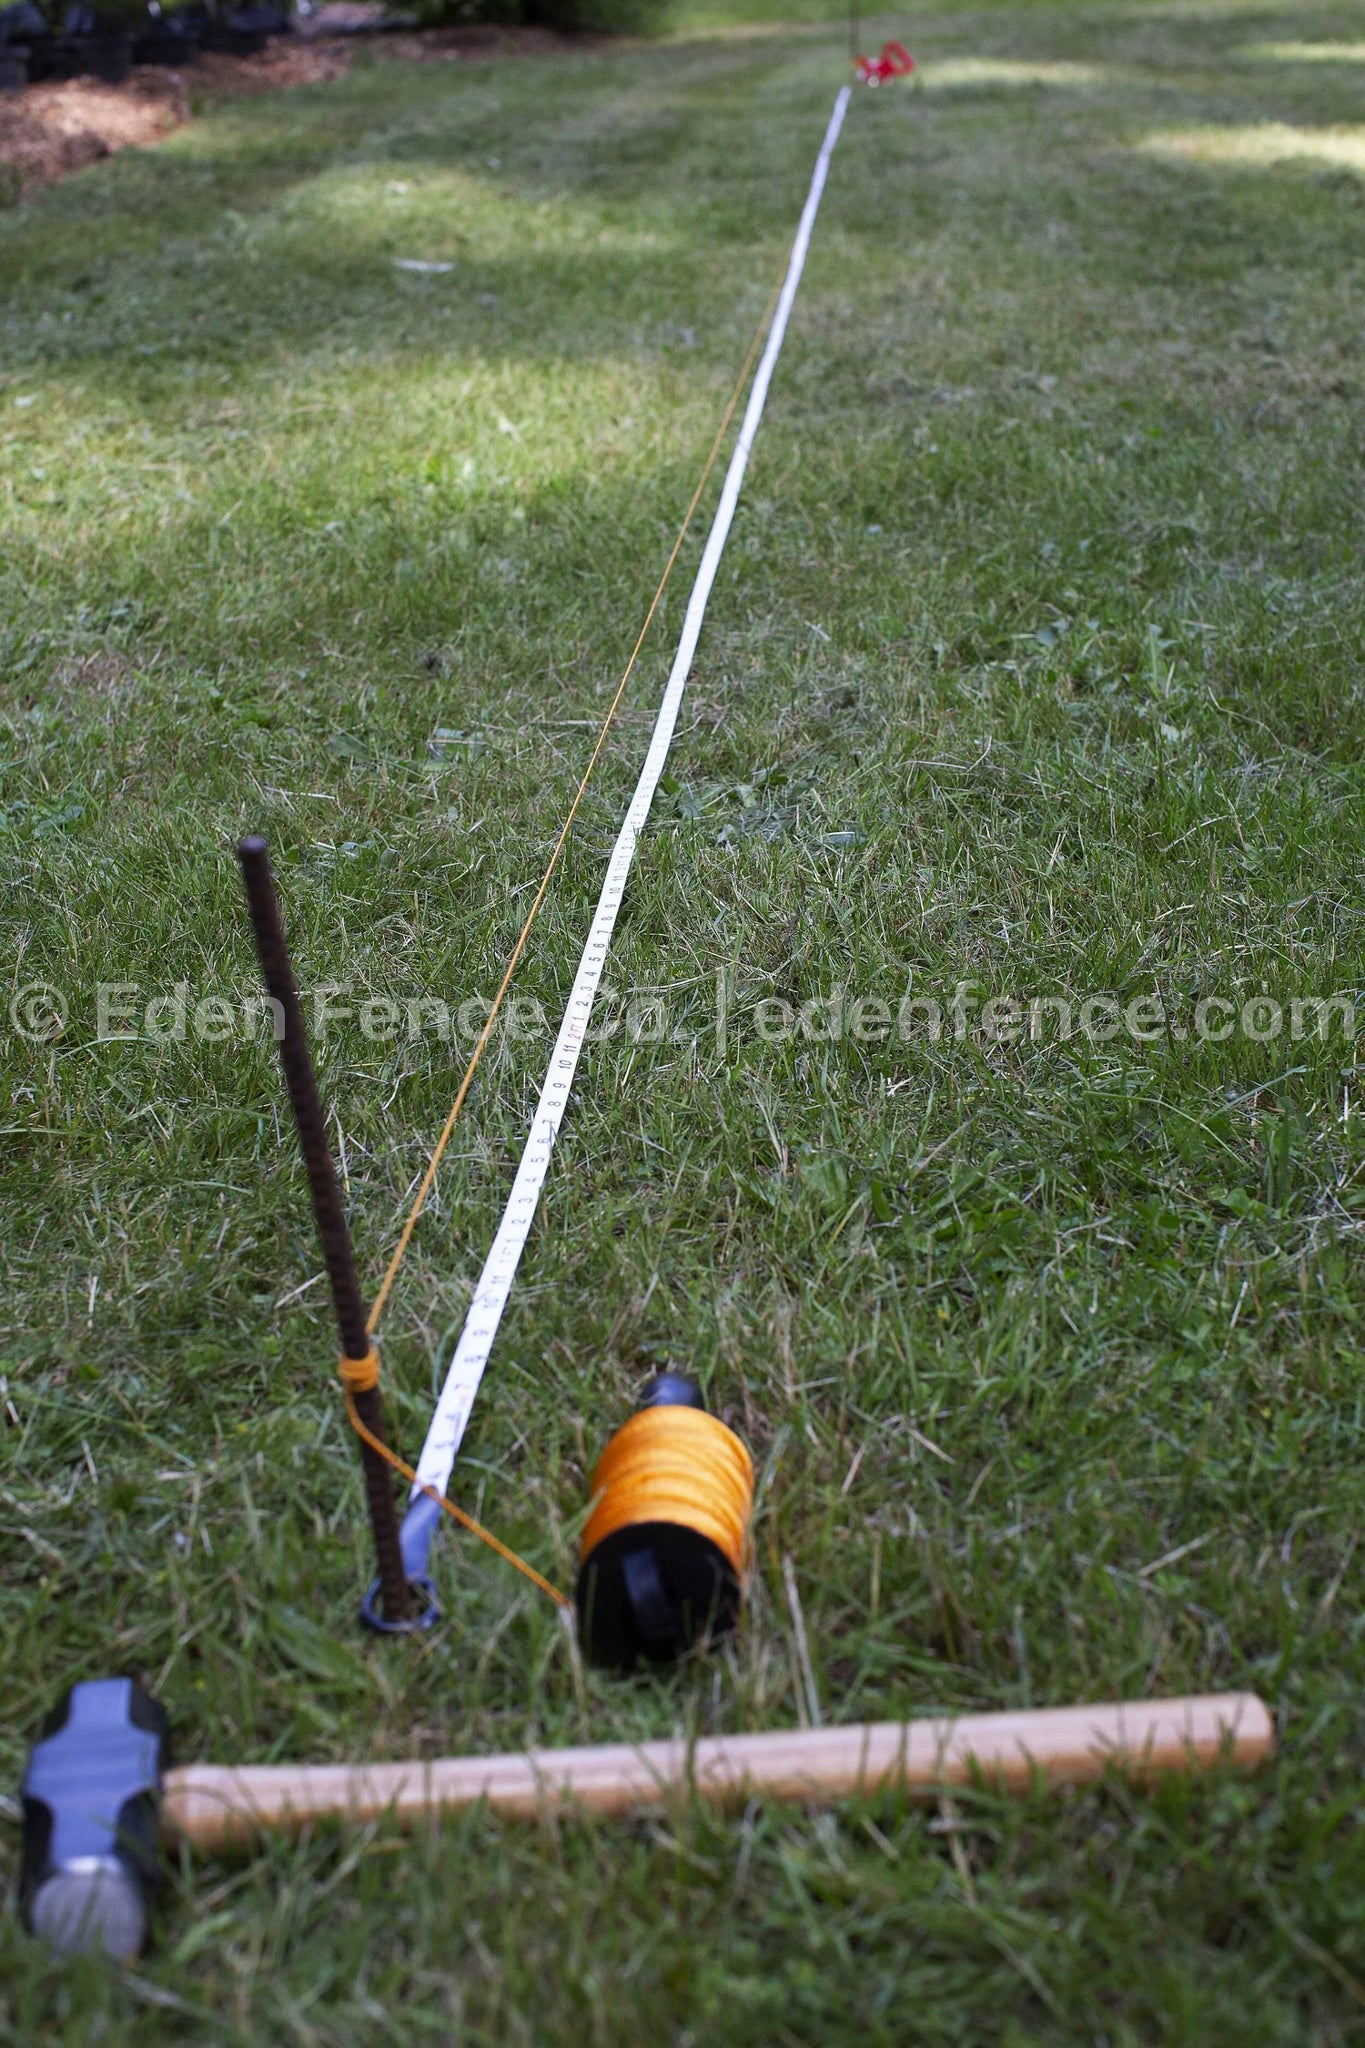
Step 1: Perimeter Layout
Use a measuring tape and string-line to mark out the fence perimeter accurately.
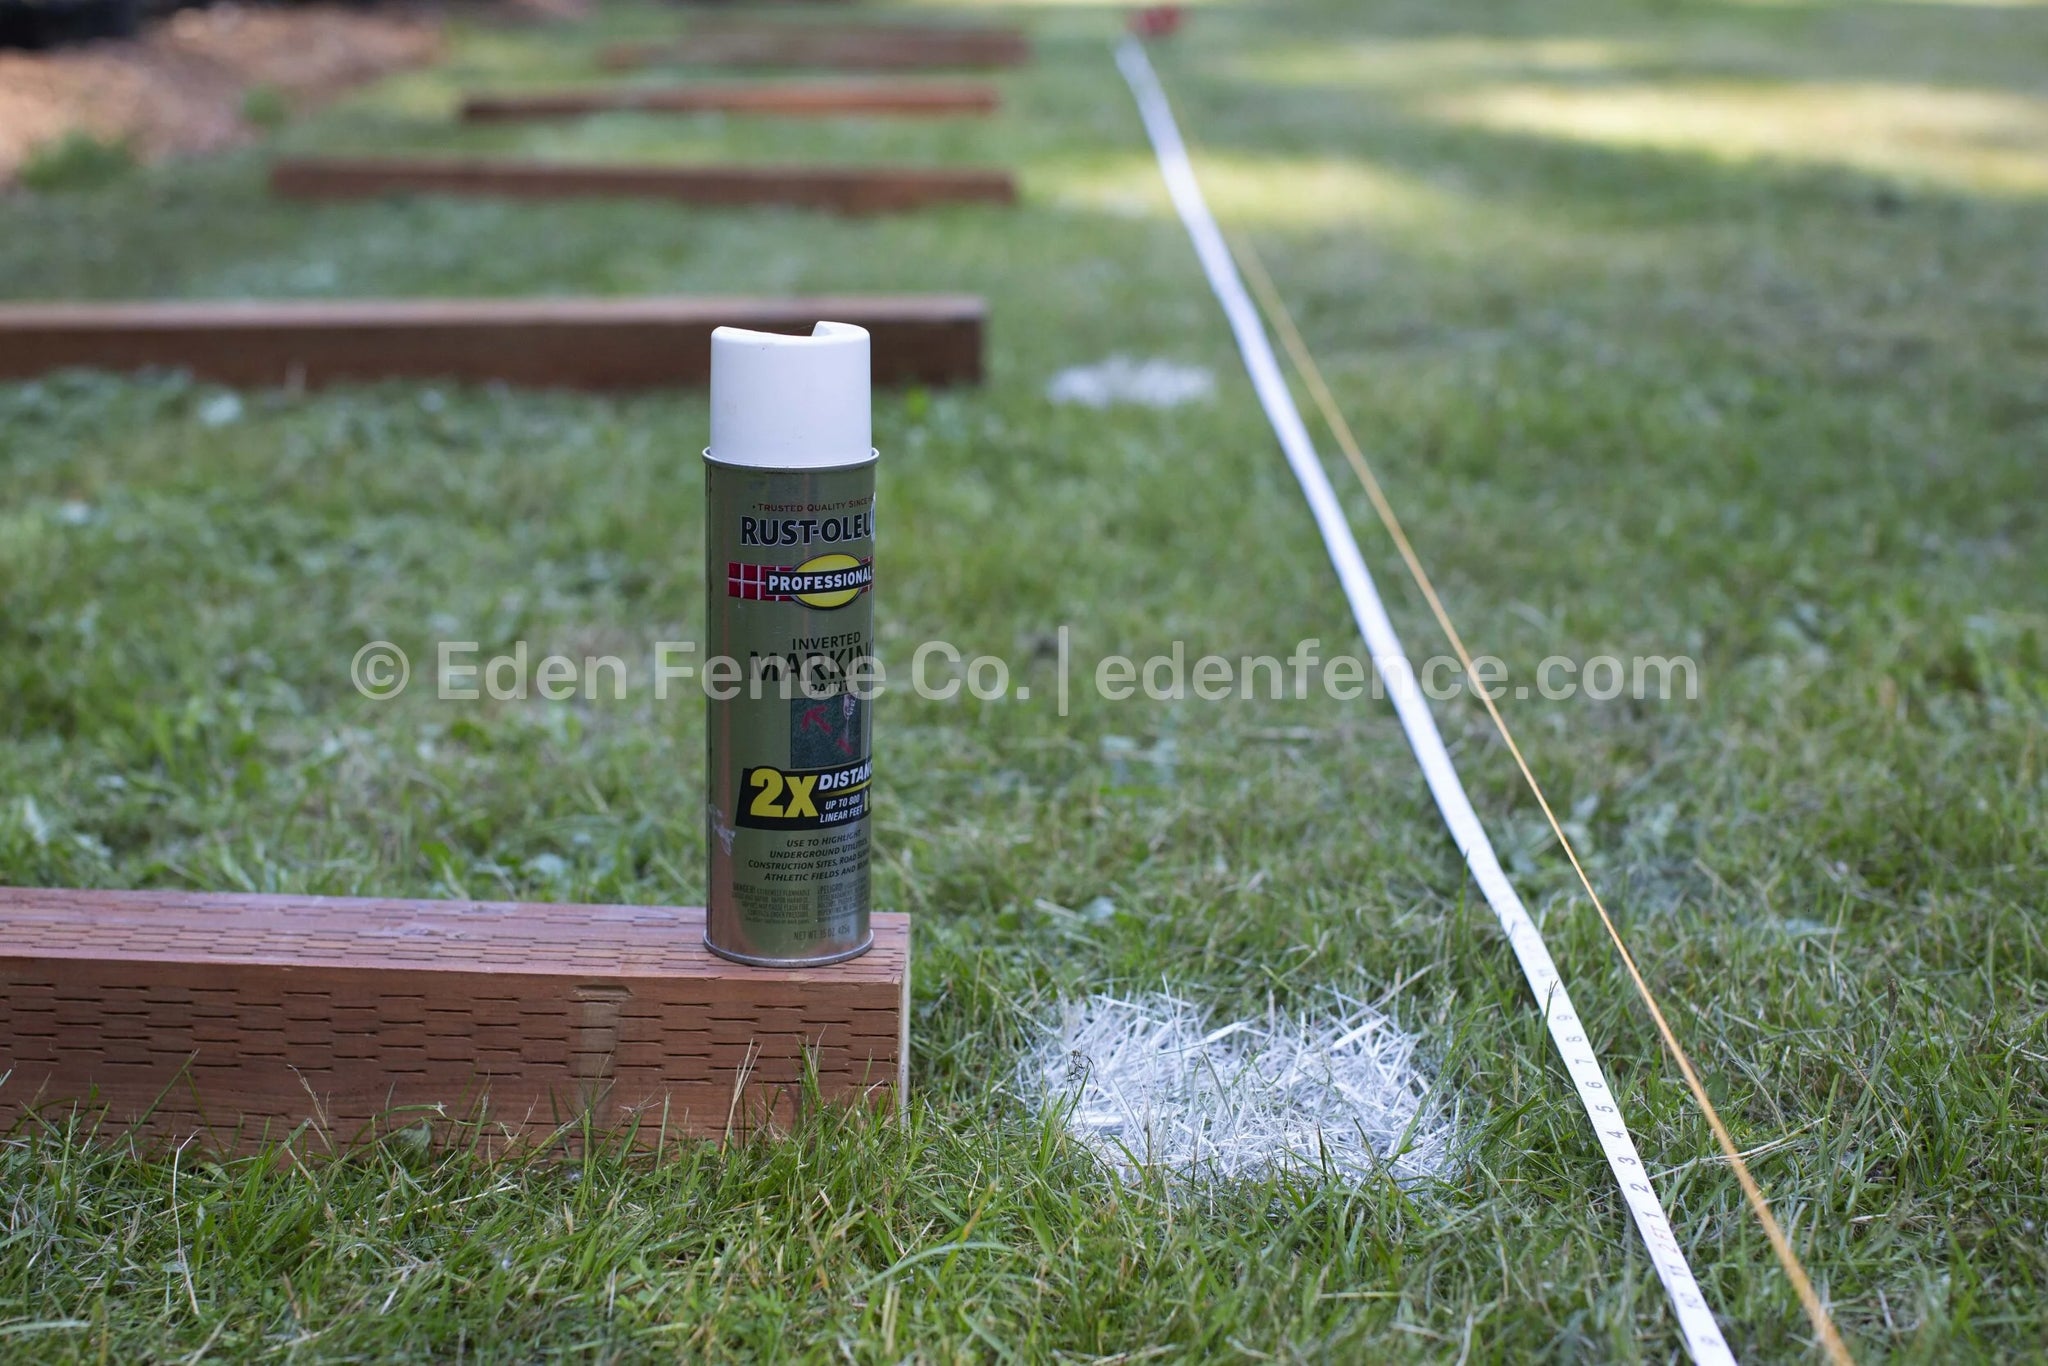
Step 2: Post Hole Layout
Use a measuring tape and spray paint to mark the exact location where you’ll dig the post holes. Pay special attention to ensure the spacing is accurate.
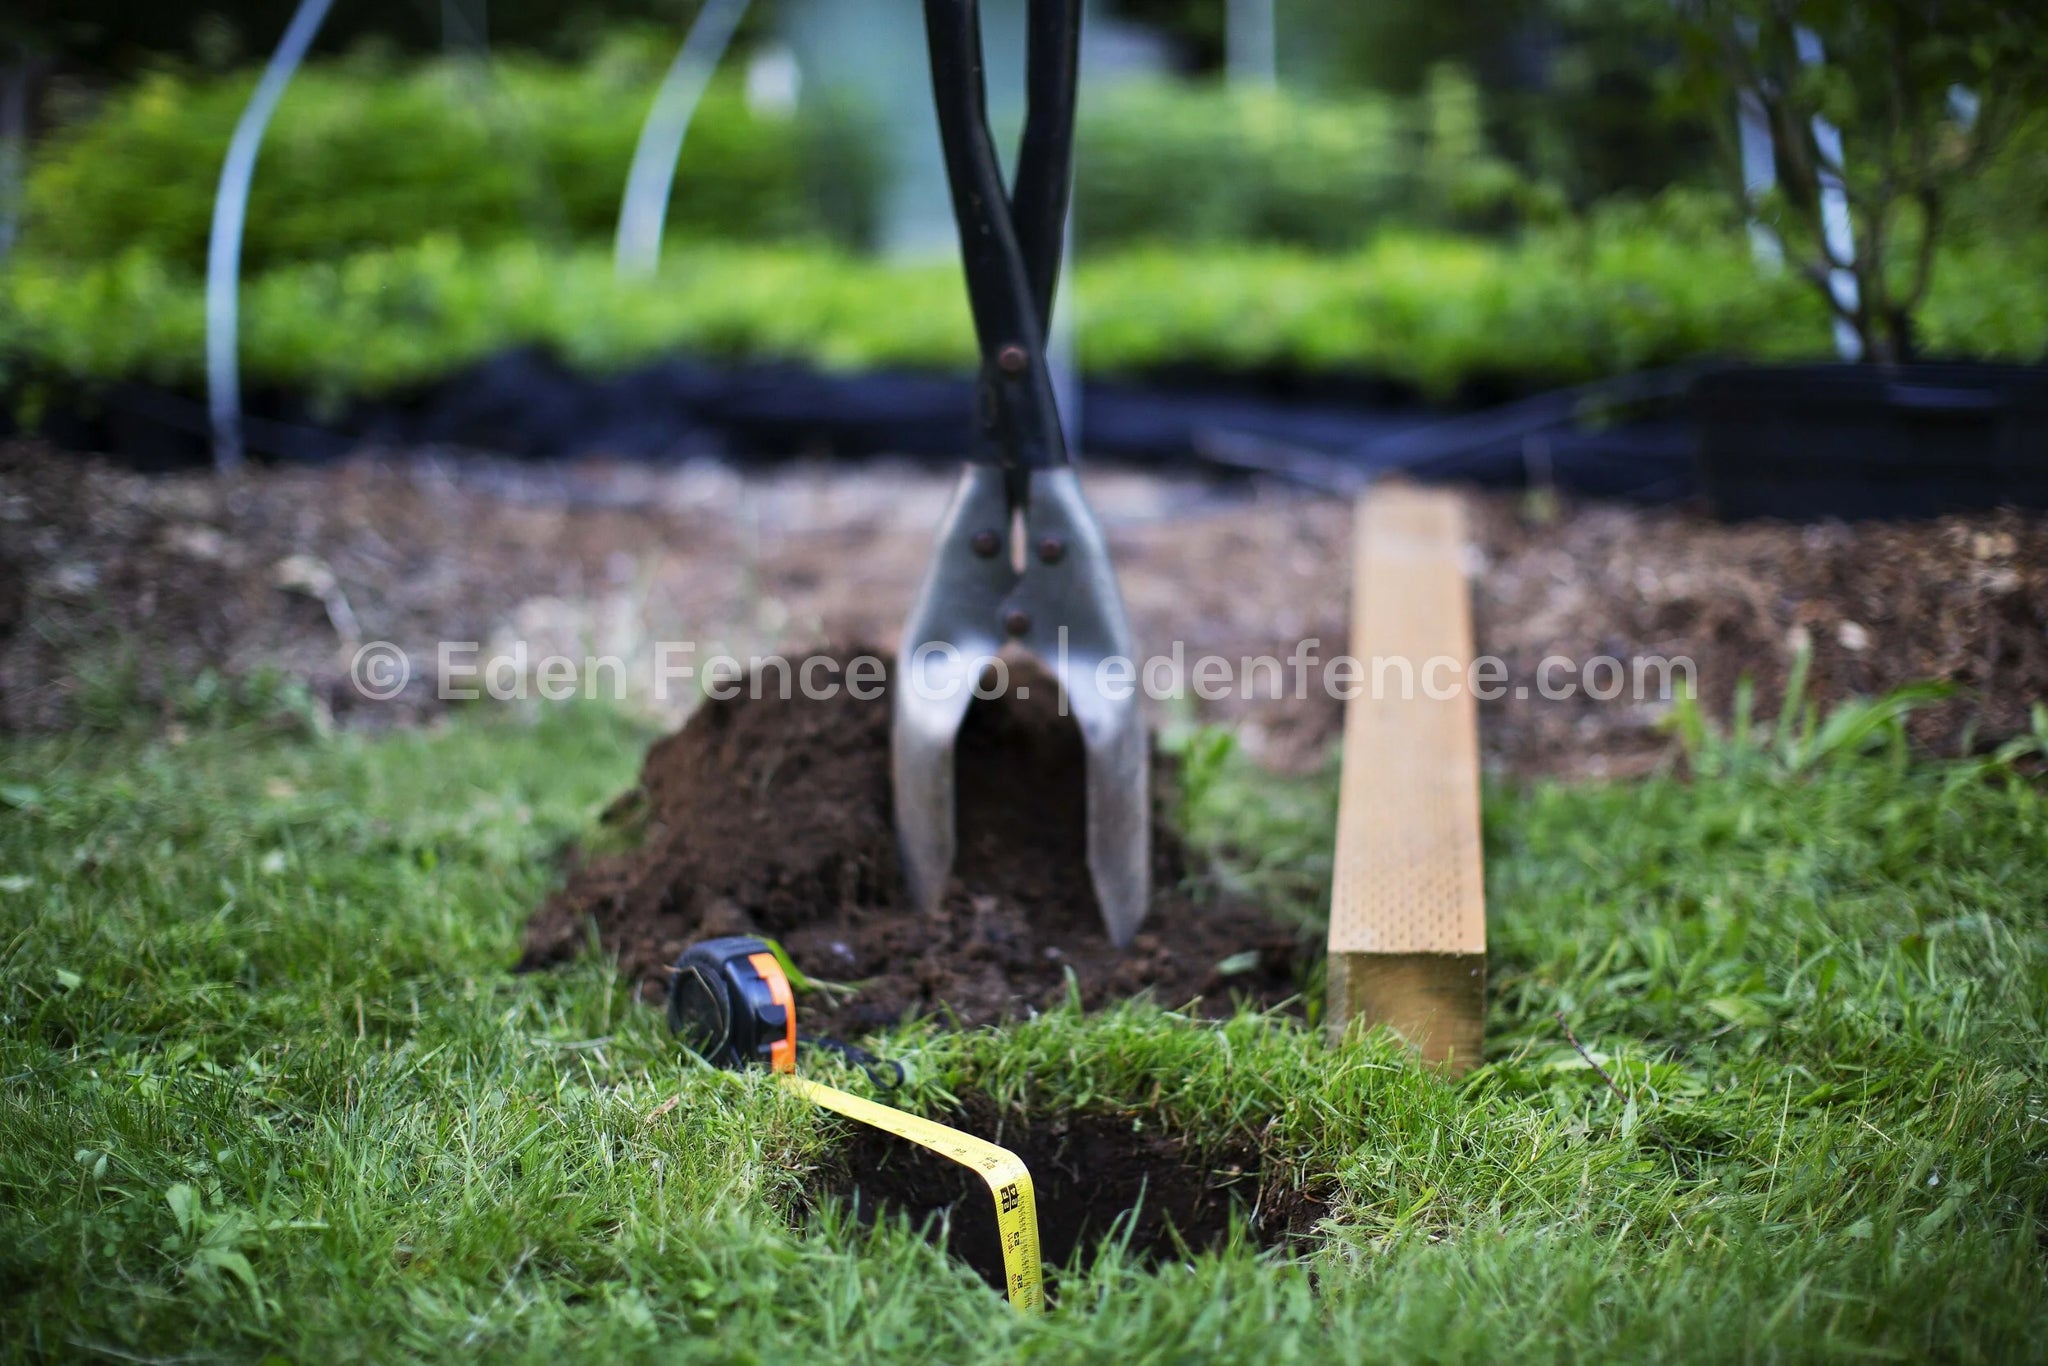
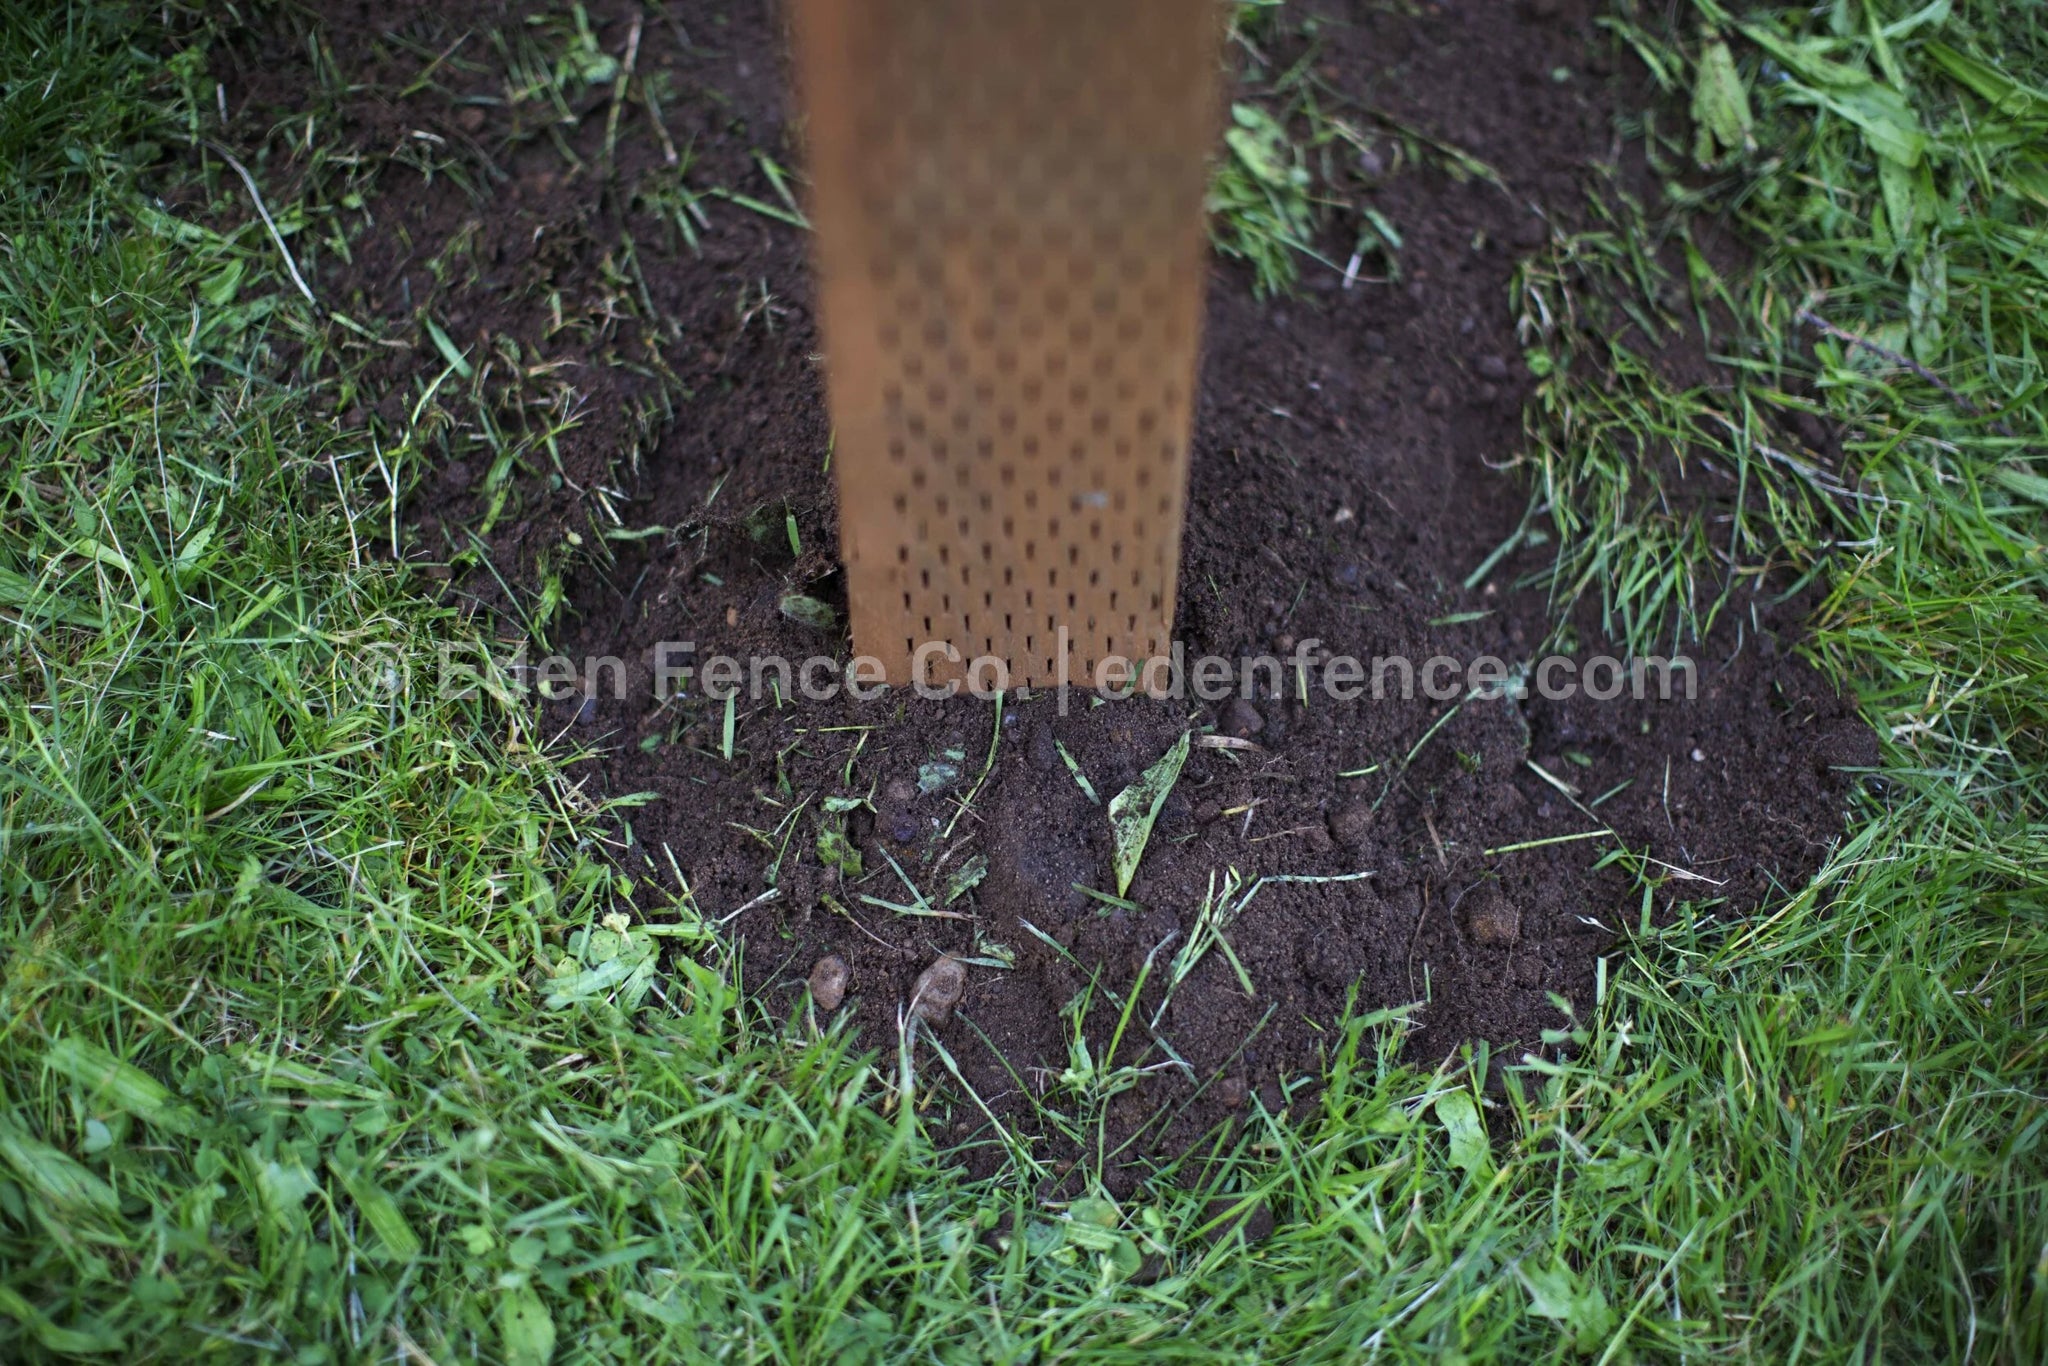
Step 3: Dig Post Holes
Dig the post holes 18-24” deep and 12” in diameter. This will allow some wiggle-room later on, if needed. Remove all loose soil from the hole, and set it aside.
Step 4: Set Corner Posts
Made with care and unconditionally loved by our customers, this signature bestseller exceeds all expectations.
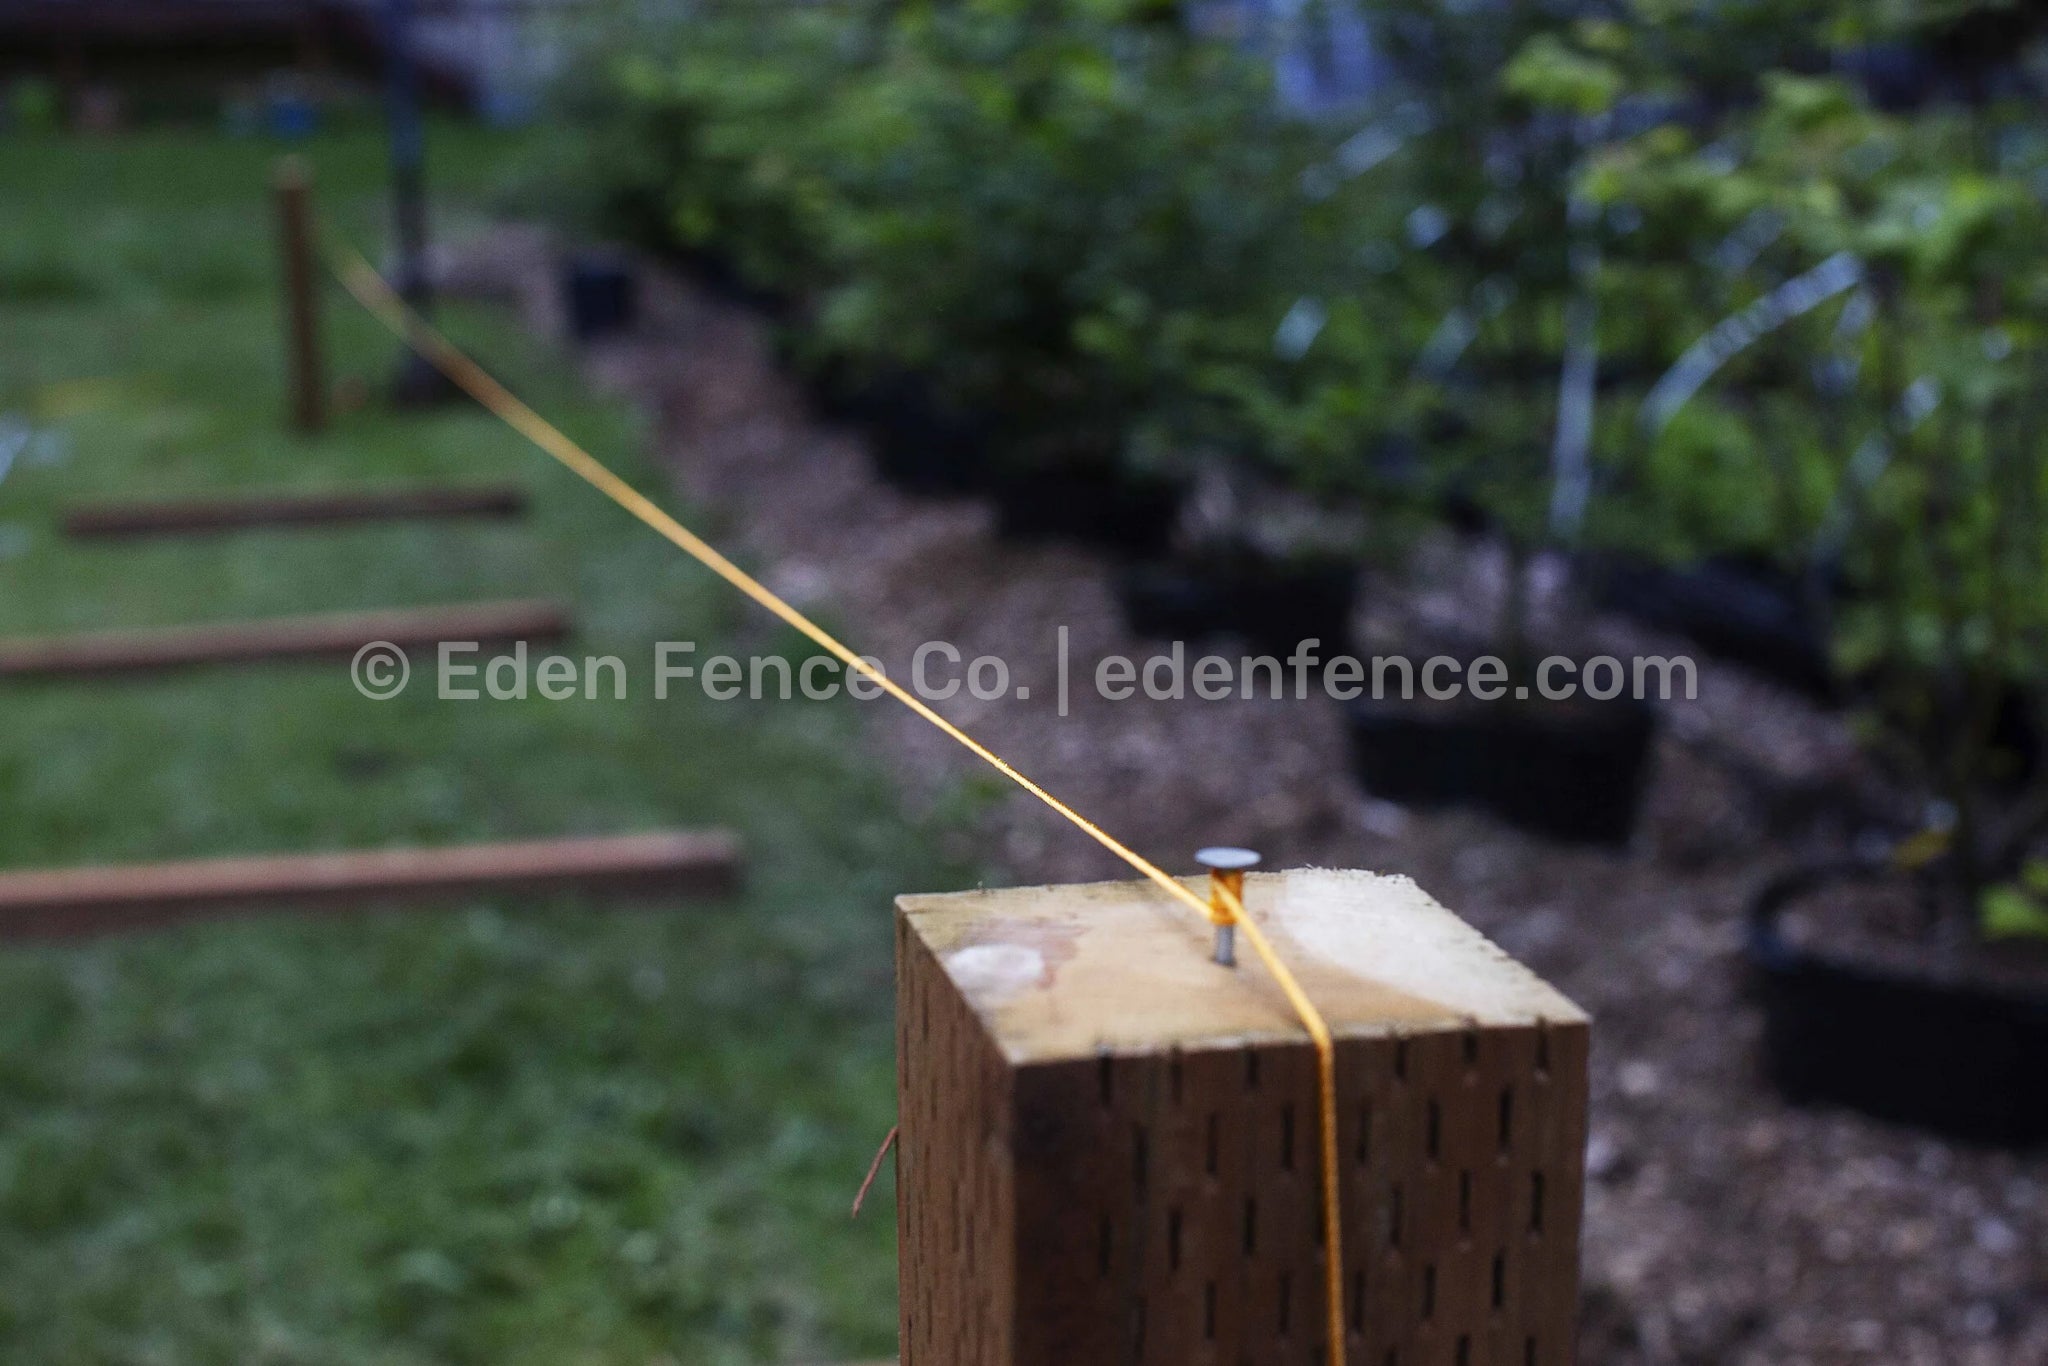
Step 5: Use a String-Line
Attach a string-line, flush (and tight) across the top of your corner posts, spanning the entire fence perimeter. This way, when you place each additional post, you can ensure that the post is at the correct height.
Using a string-line in this way, is especially helpful if the ground under your fence perimeter is uneven.
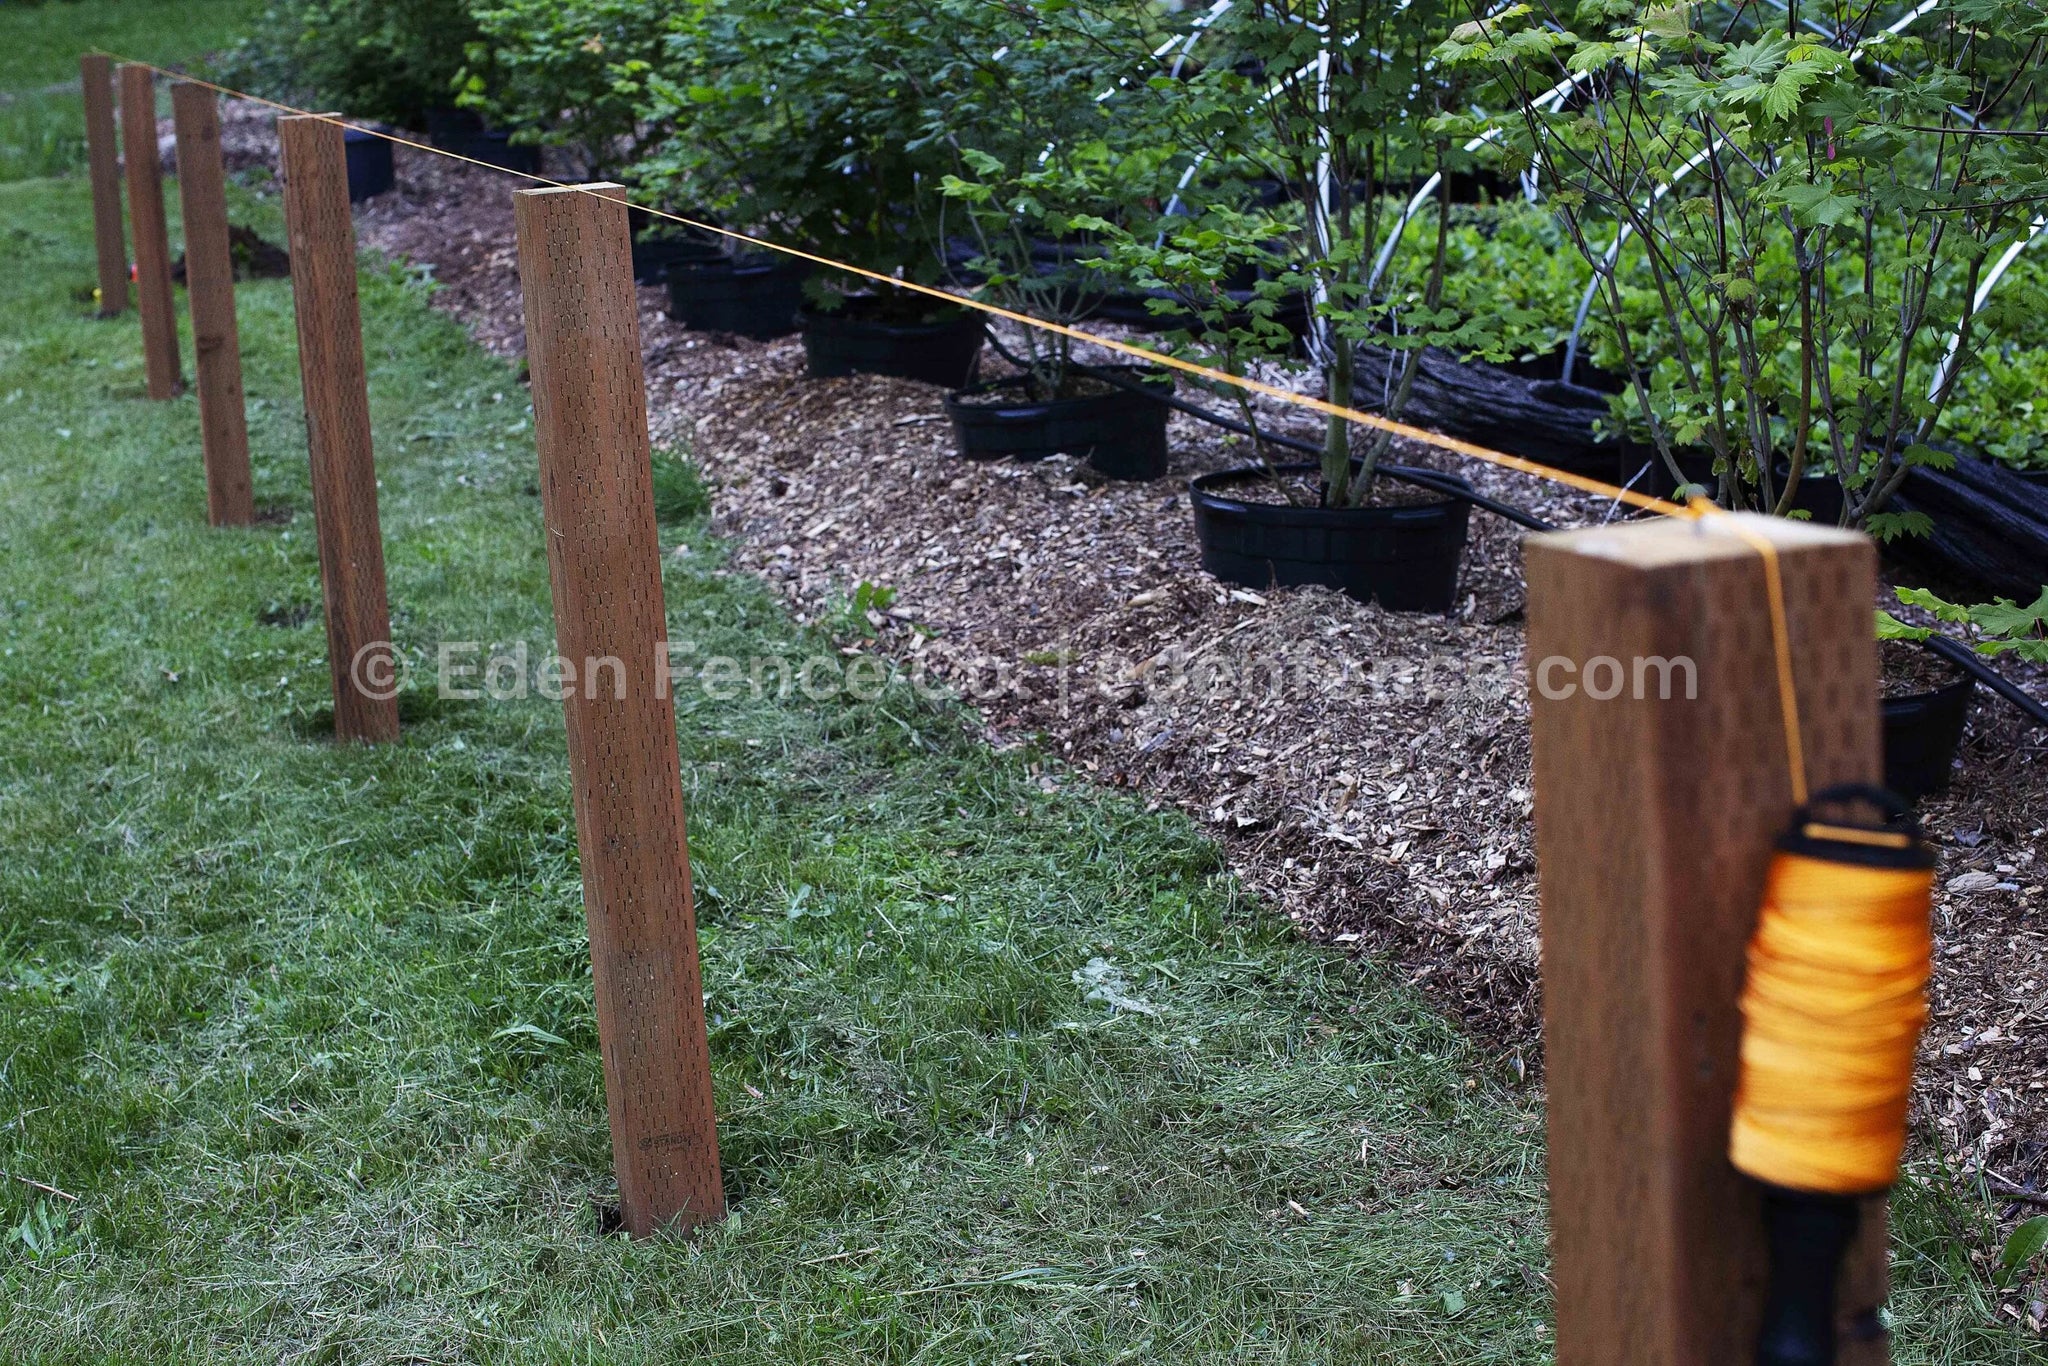
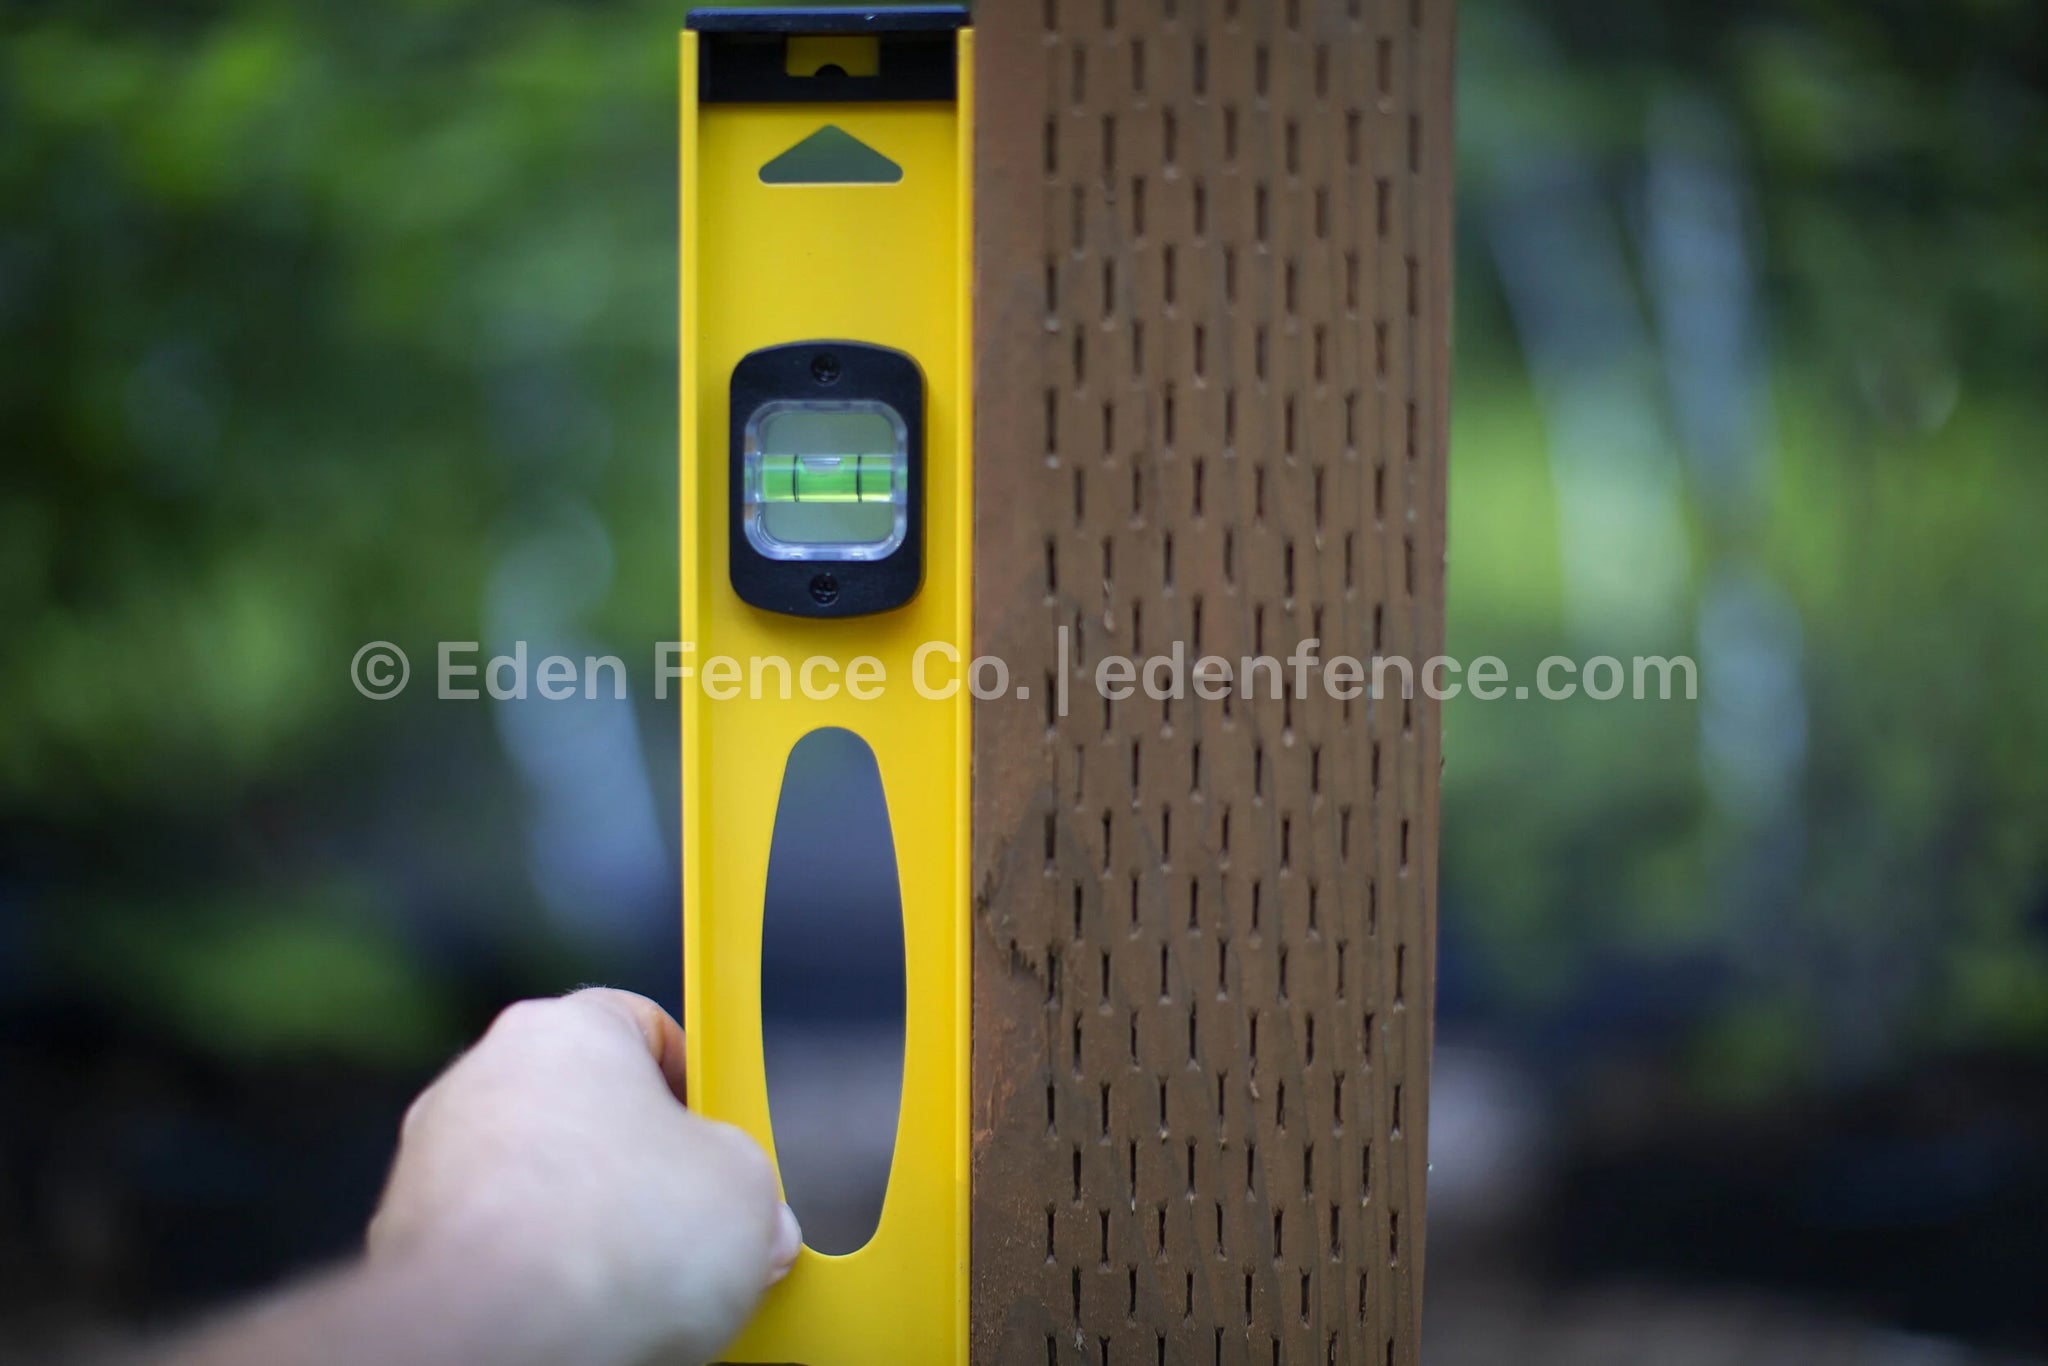
Step 6: Check Measurements
Once all posts are set into their post holes, start from one of your corner posts, and double check to ensure that the posts are spaced correctly, level and lined up with the string-lines.
Pay special attention to any gate openings, to ensure that the gates will have proper clearance once installed.
Step 7: Add Soil
Lightly pack soil around each fence post, to help hold them in the correct position. Some customers prefer to use instant concrete around the fence posts.
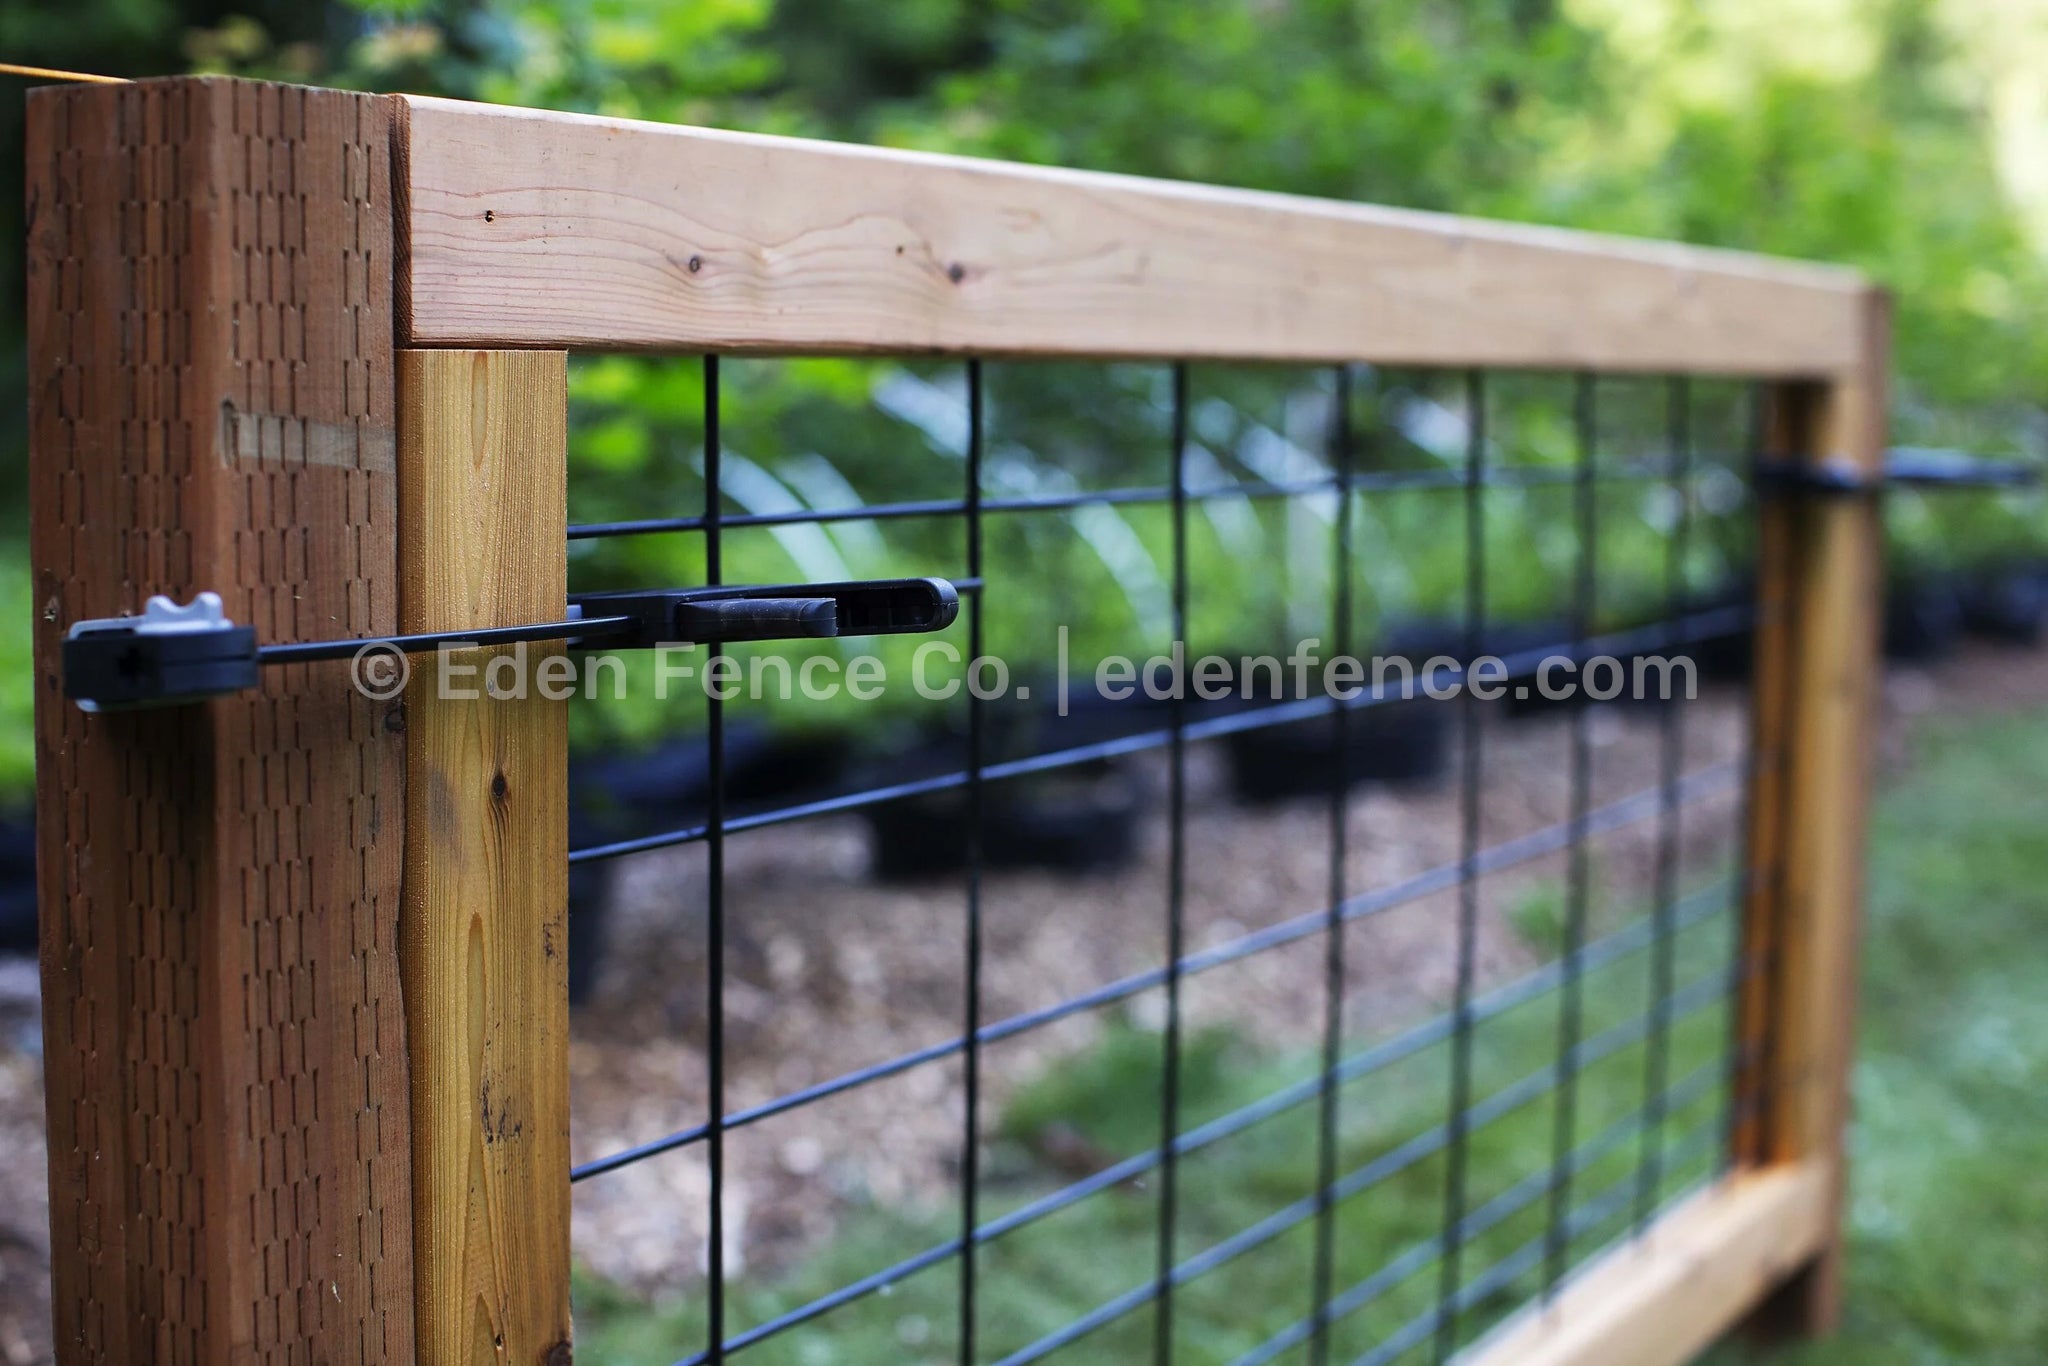
Step 8: Clamp Fence Panel
With help from a friend, lift your first fence panel into place, between two fence posts.
We recommend placing panels closest to any gate openings first.
Each fence panel should fit snugly between the posts. With the panel held in the correct place, you can use a clamping tool or vise to ensure the panel stays in place.
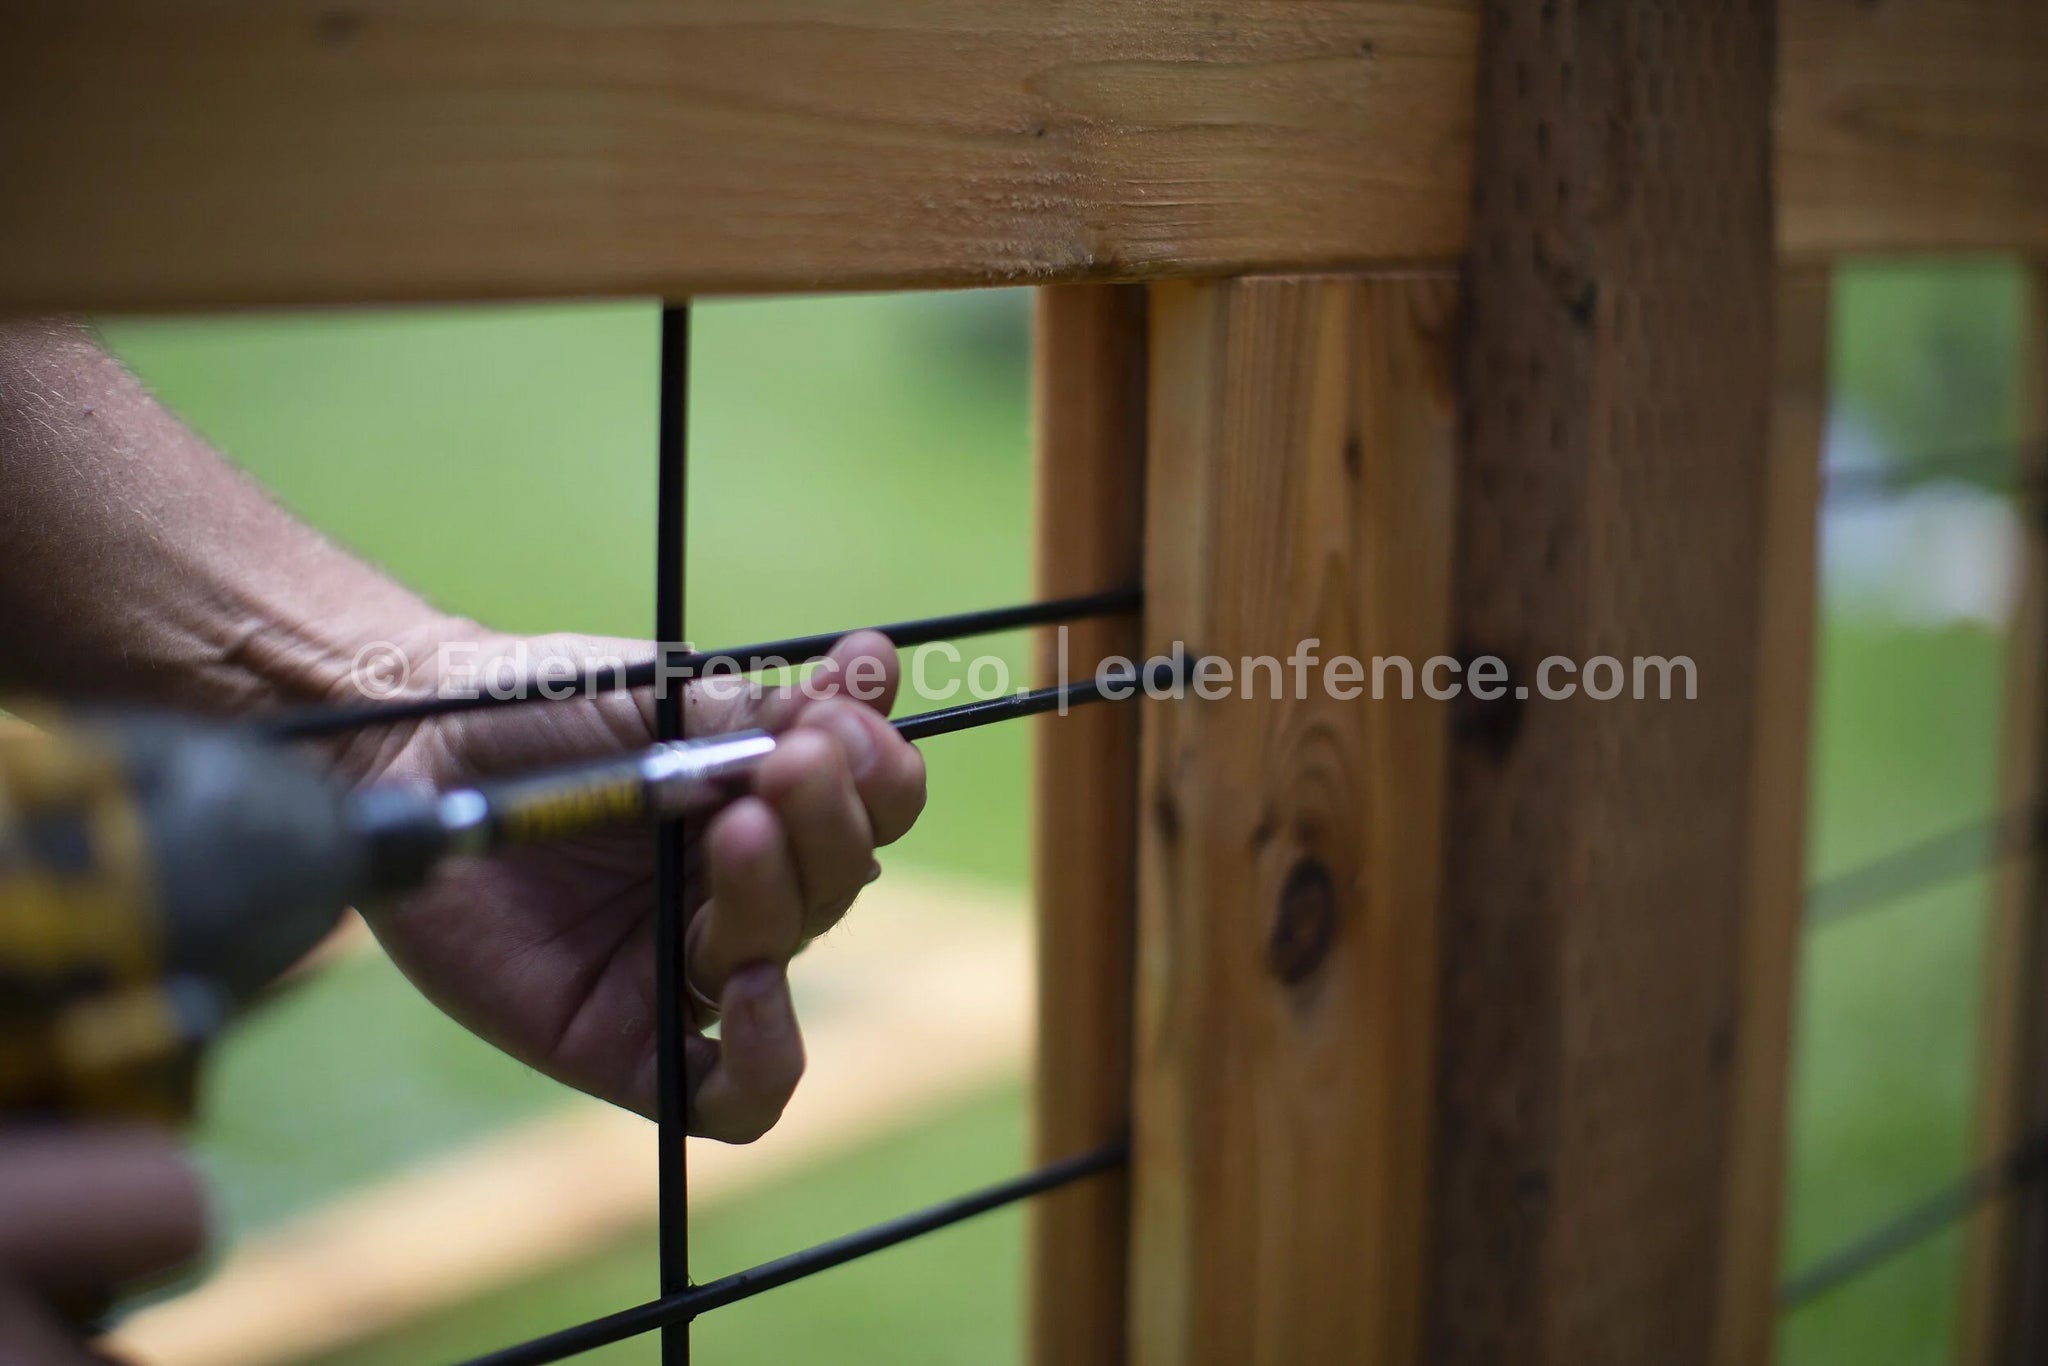
Step 9: Attach Fence Panel
With the panel clamped (or held) in the correct position, it’s time to permanently mount the fence panel.
Locate the pre-drilled mounting holes on the fence panel.
We recommend any outdoor-rated screw with a length between 3-5 inches.
Screw the panel into the posts. Do not over-tighten. (Repeat until all fence panels are installed).
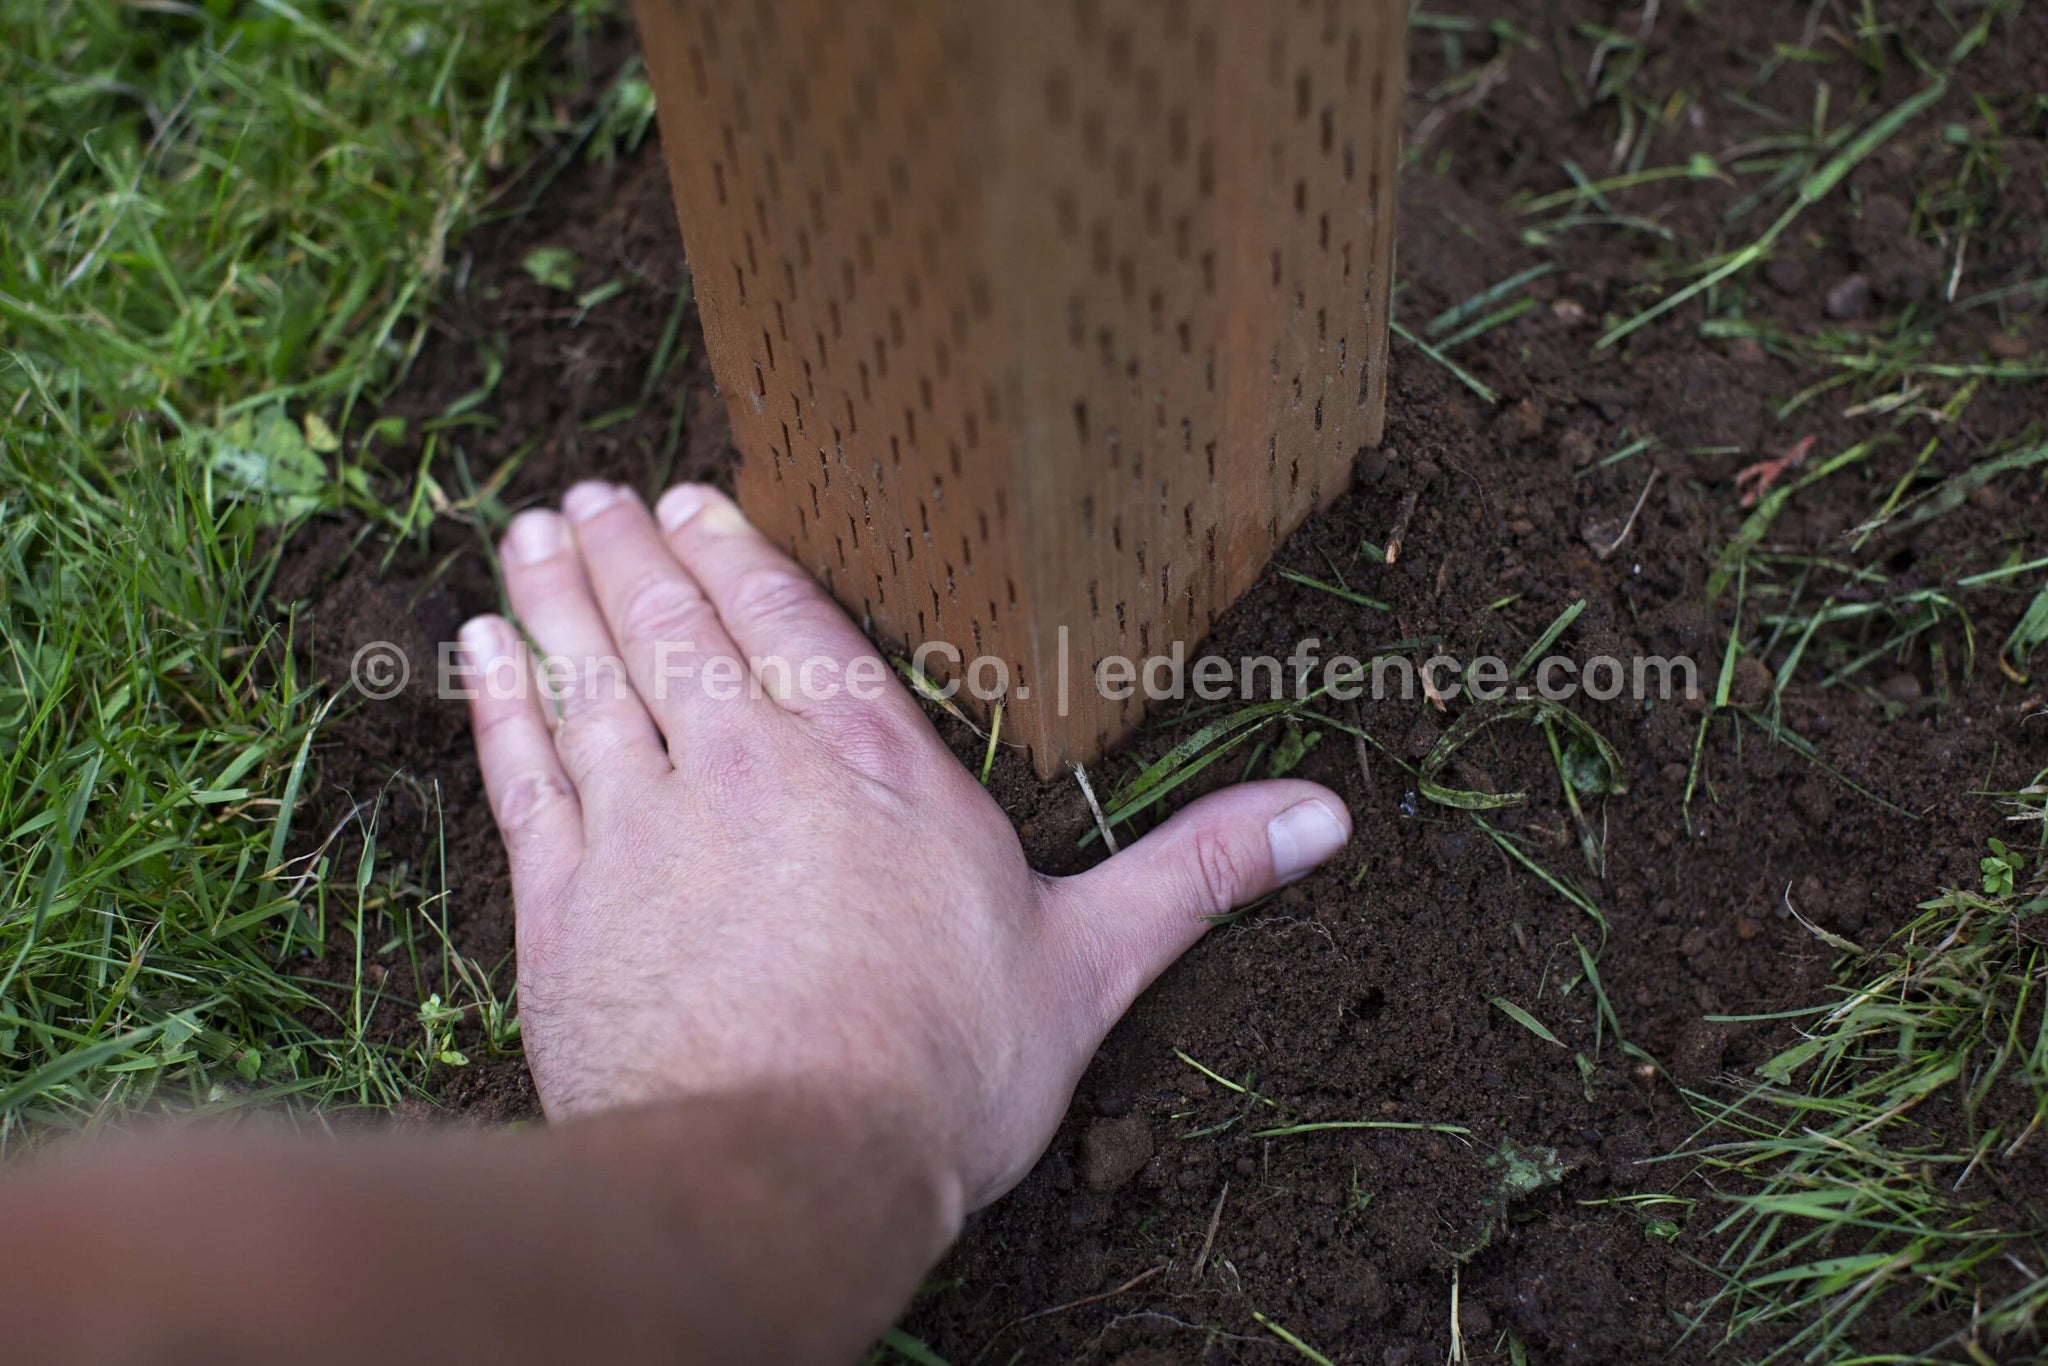
Step 10: Pack Posts
Made with care and unconditionally loved by our customers, this signature bestseller exceeds all expectations.
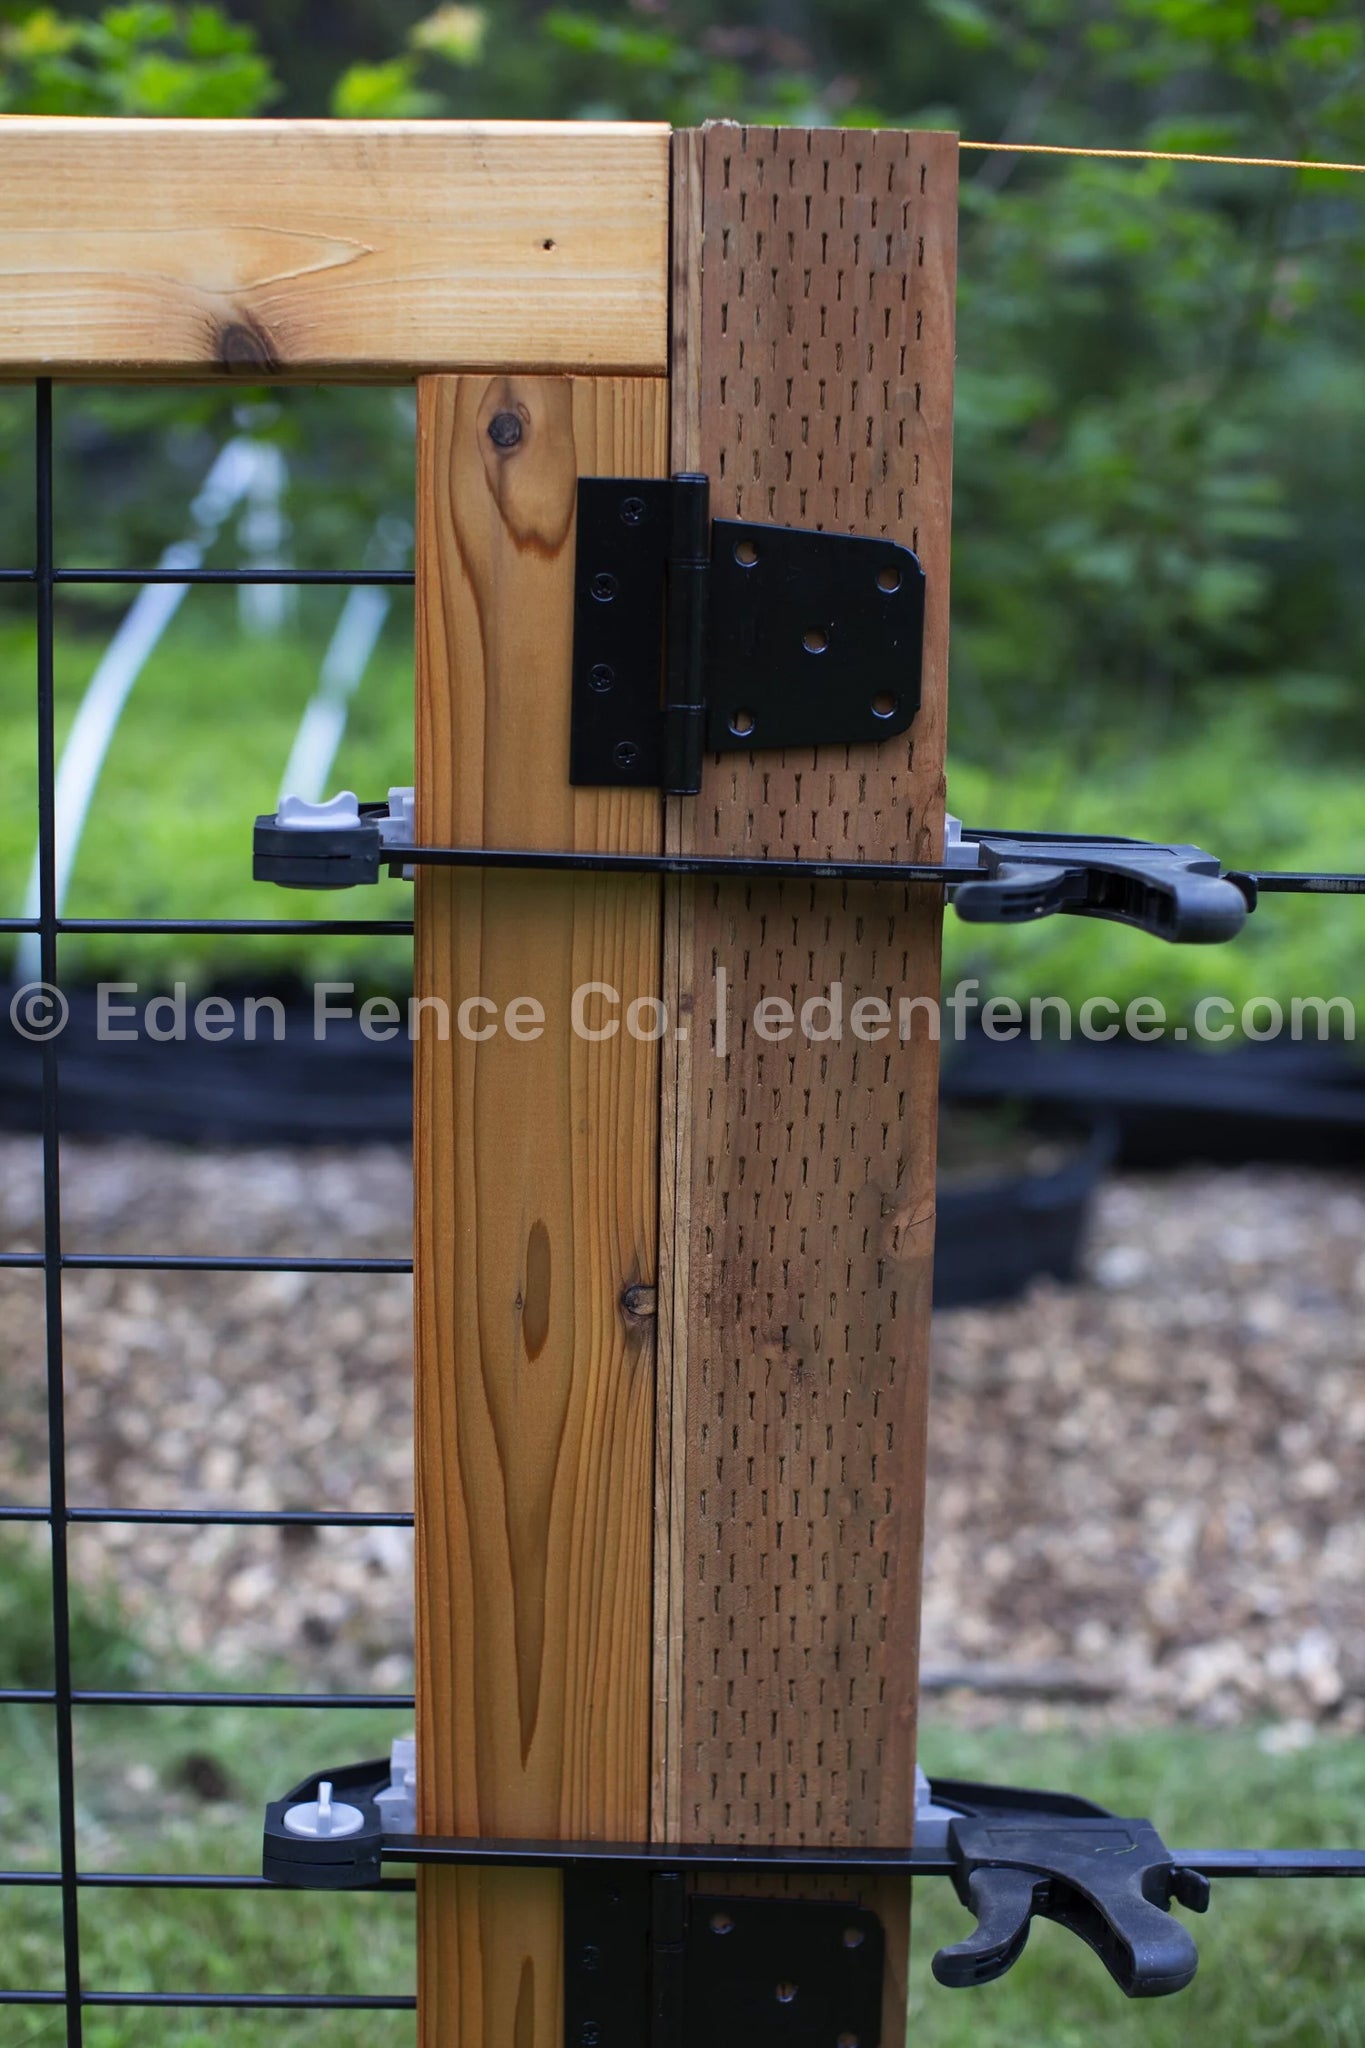
Step 11: Position Gate(s)
With help from a friend, lift the gate panel in place, between the gate-opening posts.
Use a piece of wood or a book as a spacer, (or anything roughly 1/2” thick) to create a 1/2” gap between the hinge-side of the gate panel and its post.
With this spacer in place, clamp the hinge-side of the gate panel to the post, at both the top and bottom.
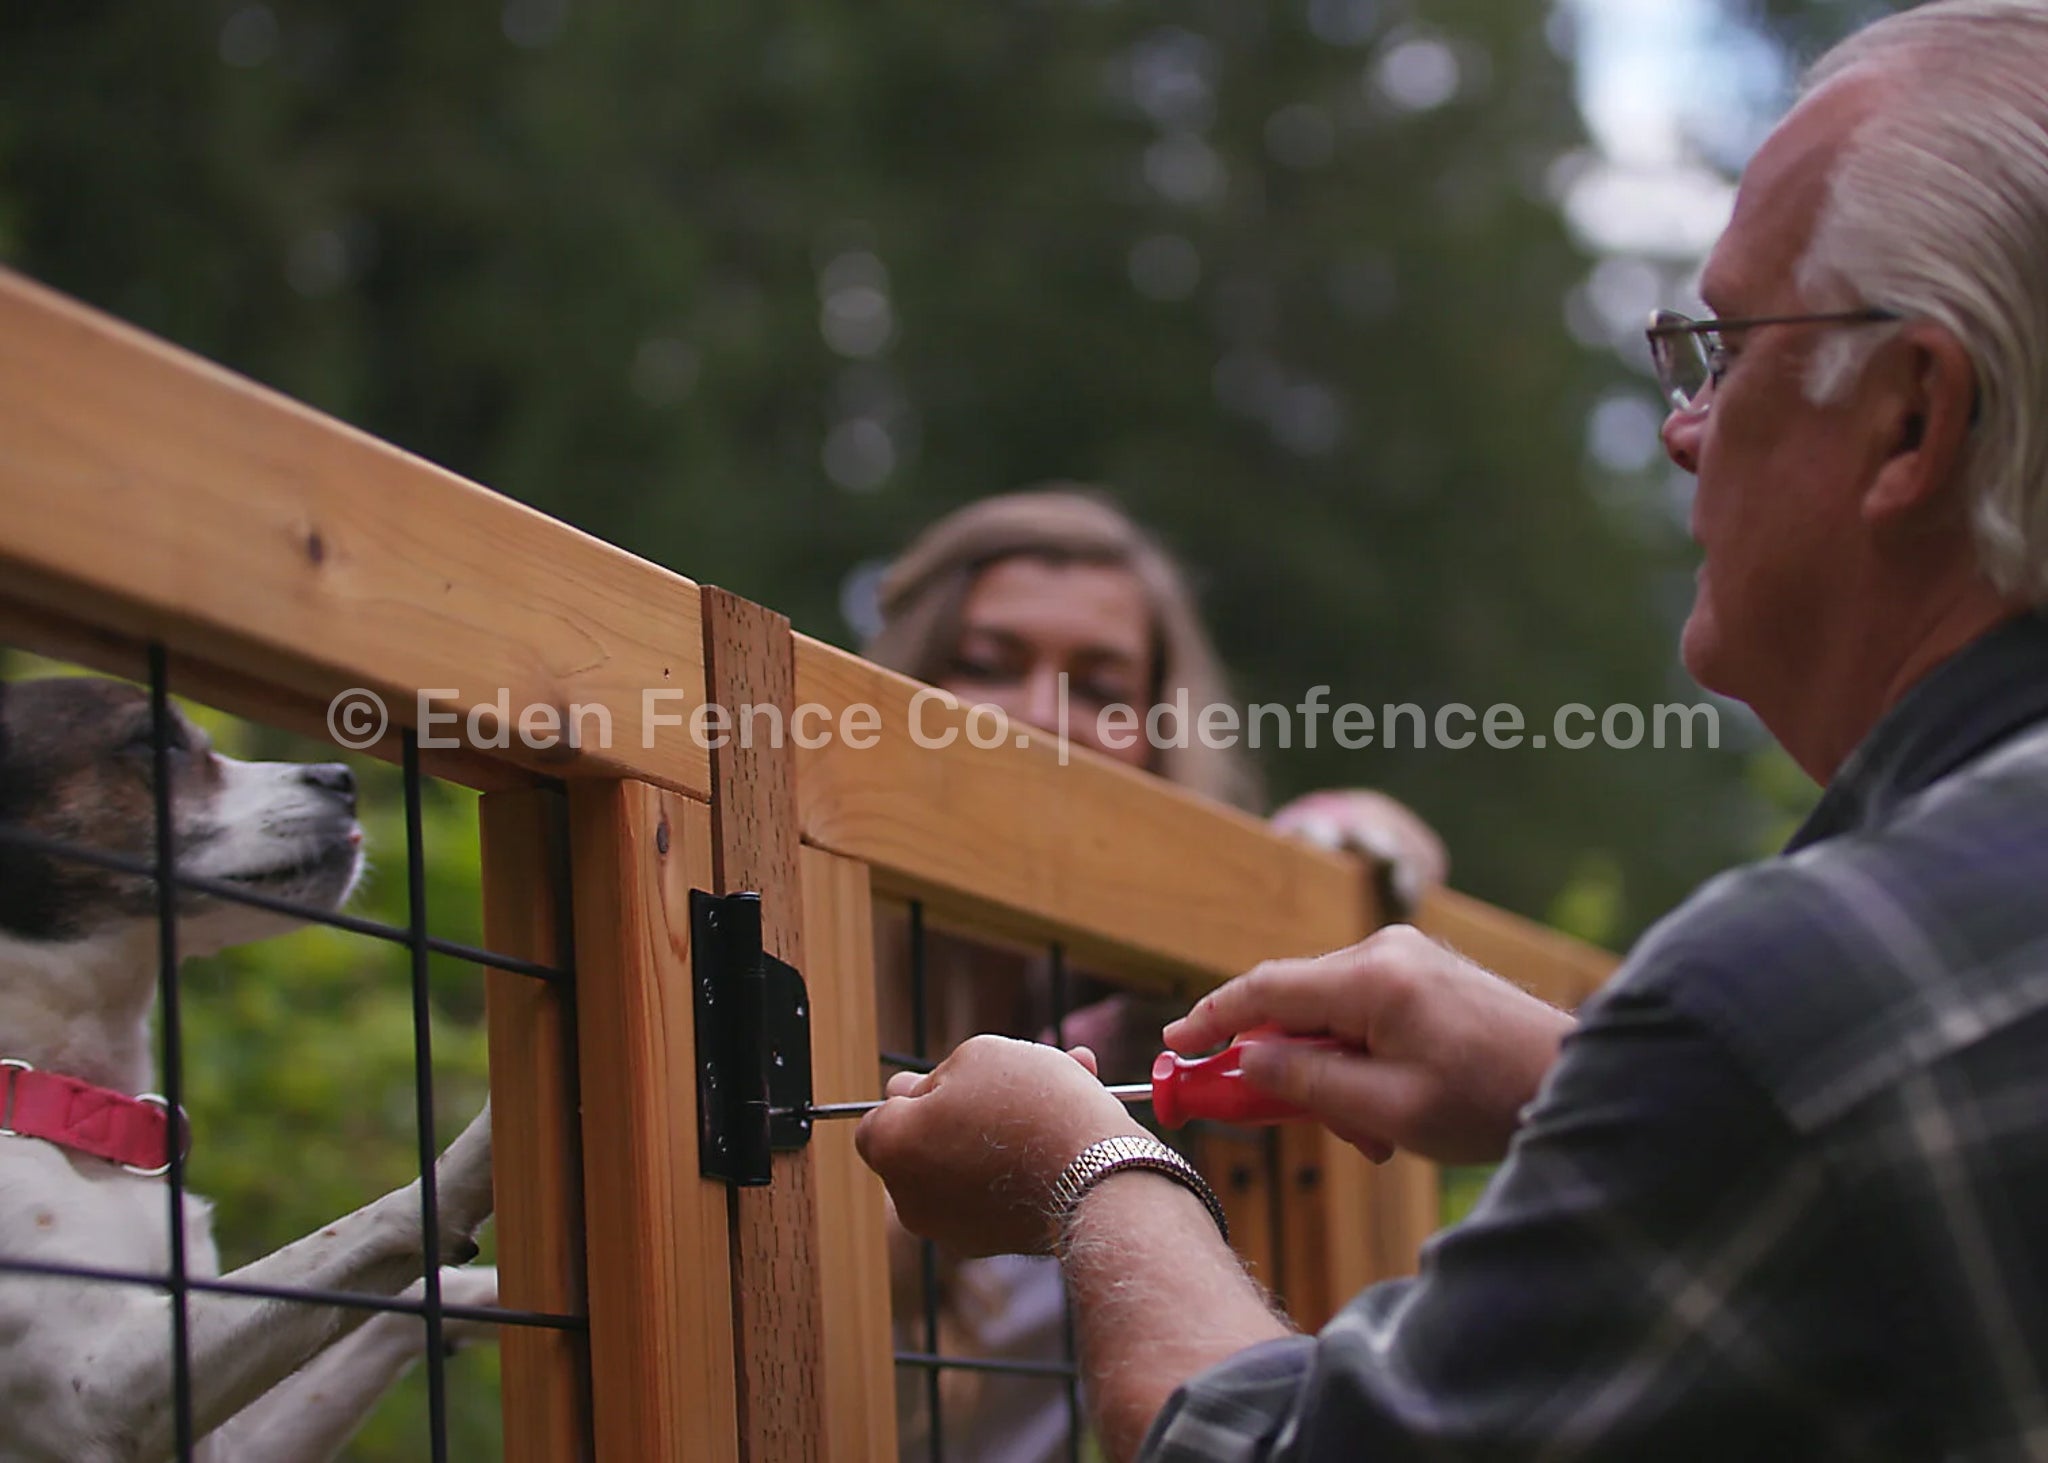
Step 12: Attach the Gate(s)
Using the provided hardware, screw the gate hinges firmly into the post.
On the opposite side of the gate panel, mark where the gate latch locking-bar touches the post. Carefully place the gate latch receptacle in-line with the locking bar, and screw it in, using the provided hardware.
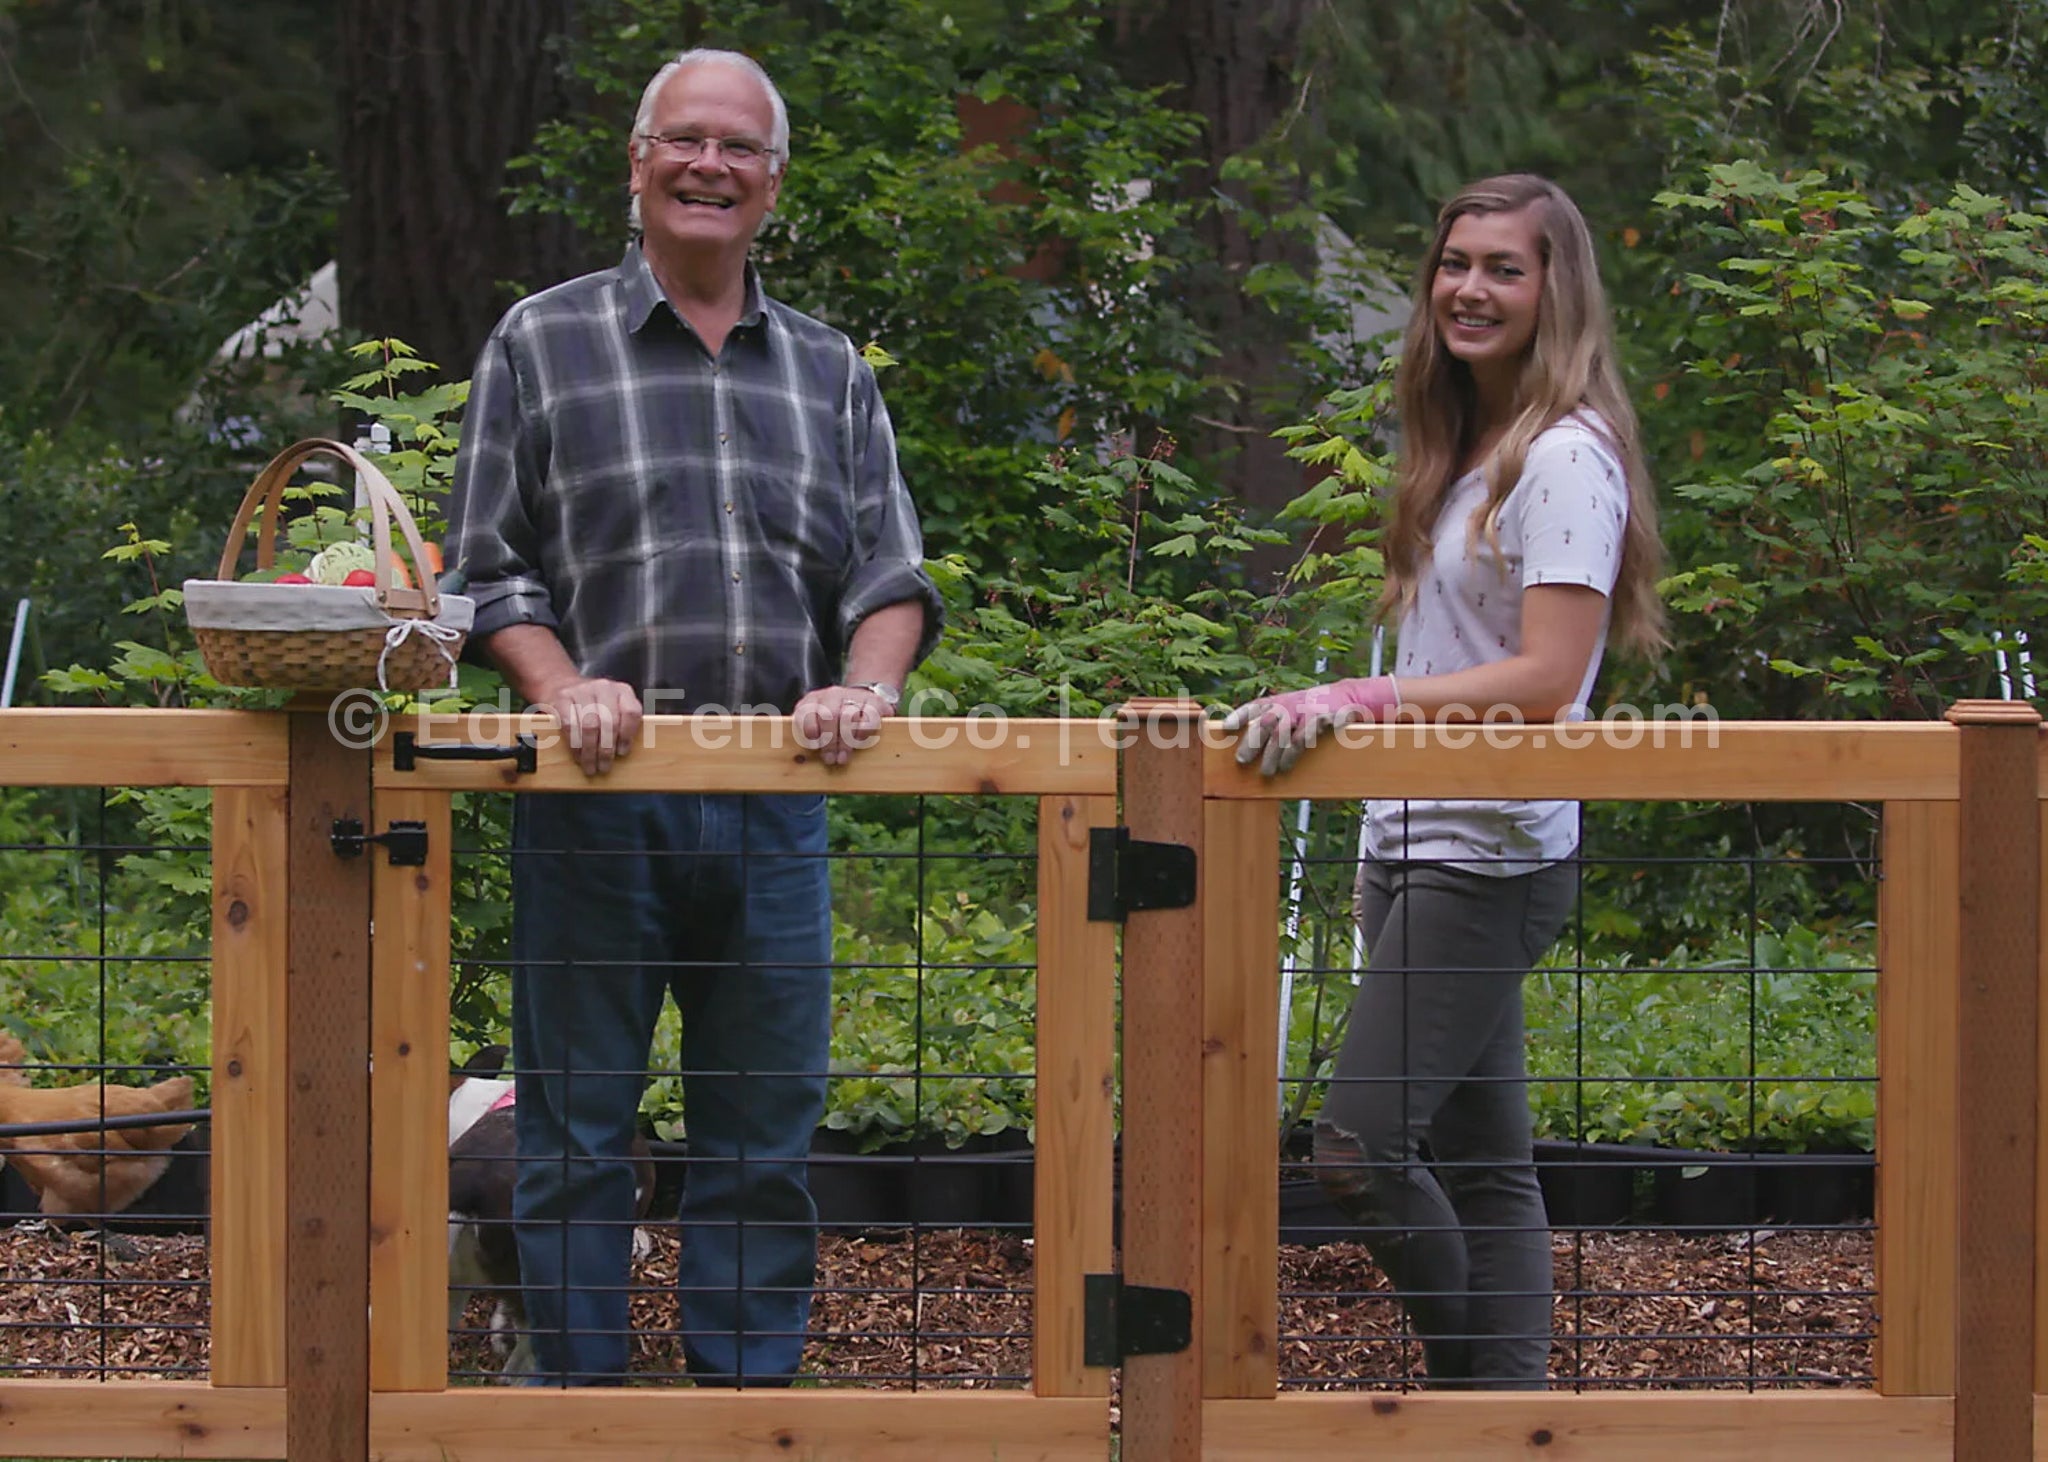
Step 13: Enjoy your Eden Fence!
Step back and marvel at the beautiful fence you’ve just created!